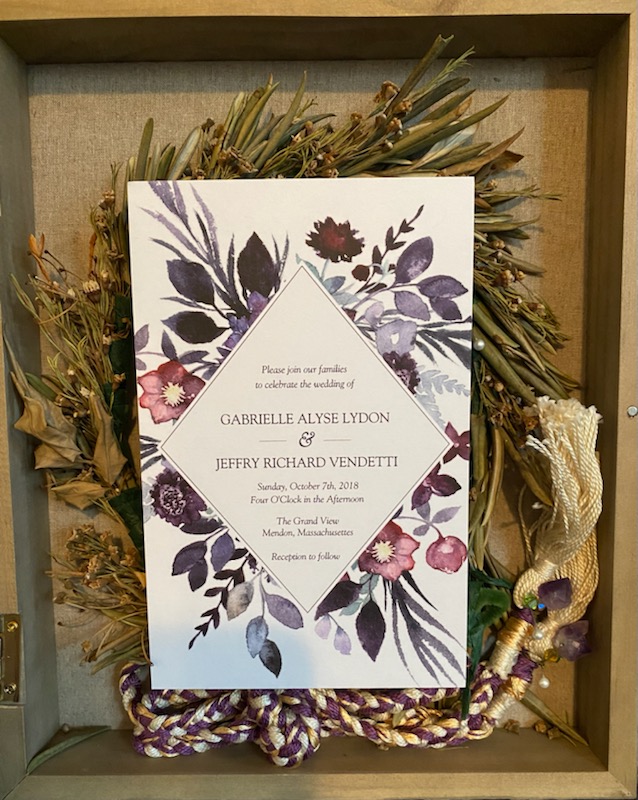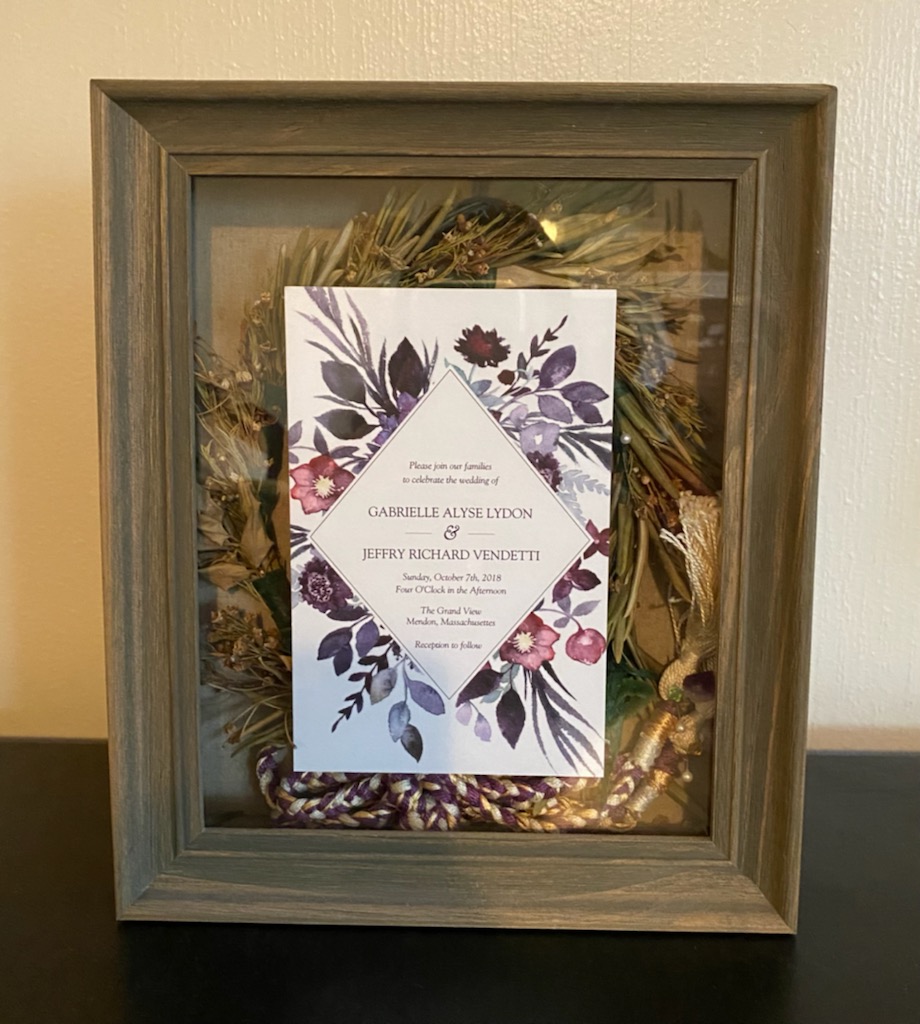
After our wedding, I started to think about different ways to preserve some special pieces from the day, but I wasn't sure where to begin. I've seen a lot of brides preserve their wedding bouquets, but I had a few different items I wanted to save together. After a little bit of thinking it hit me: a DIY wedding shadowbox would be perfect!
I started hunting for the perfect shadowbox for my invitation, handfasting cord, and my flower crown, and found a rustic looking top loading box (opens in the front) at the craft store that was just the right size and shape for me (and I got it on sale! Score!). It also had a padded back and came with a few pins to help secure my treasures in place.
Once I brought it home assembling everything in the box was surprisingly easy, so I figured I would share what I did so you can preserve your own treasures from your wedding. I even drew a few pictures to help show you how I did what I did. So without further ado, let's make a shadowbox!
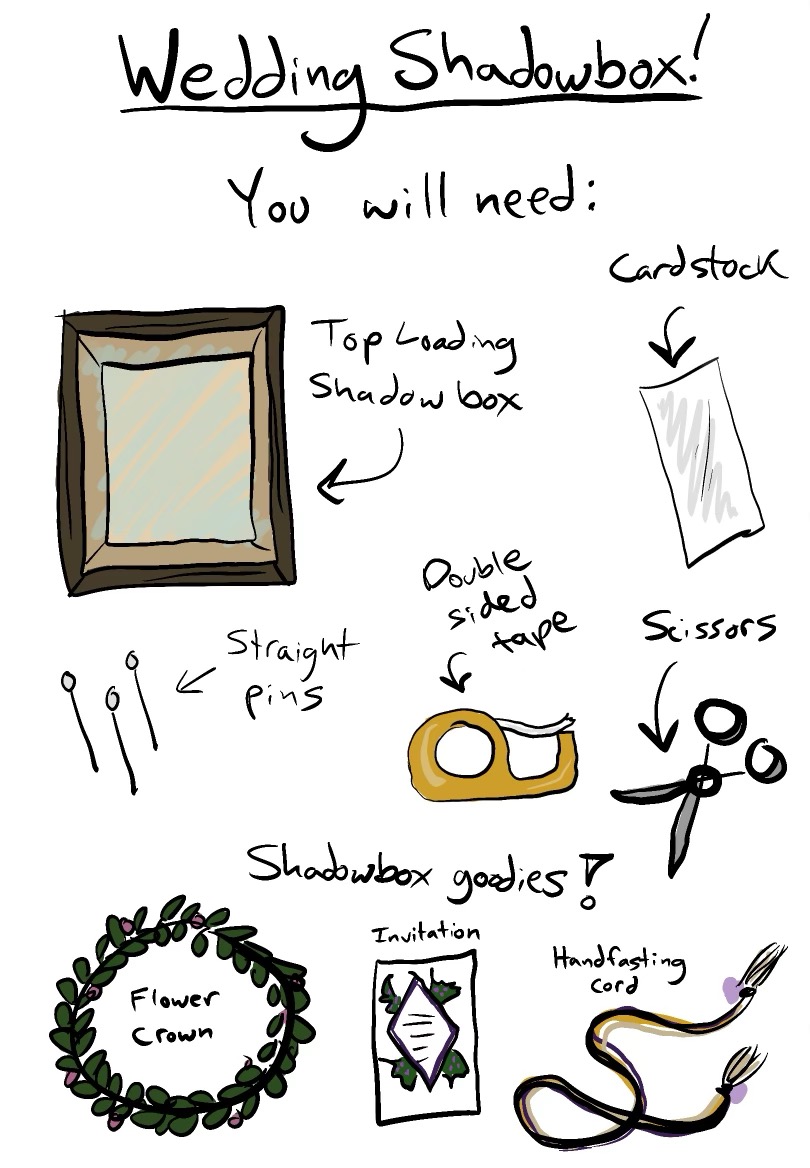
Materials for your DIY shadowbox:
You'll need a few things to get started. This includes:
- A shadowbox
(I recommend top loading, but you could do this with a back loading too if that's all you can find) - A piece of card stock
- Double sided tape
- Sewing Pins
- Scissors
- Your wedding goodies!
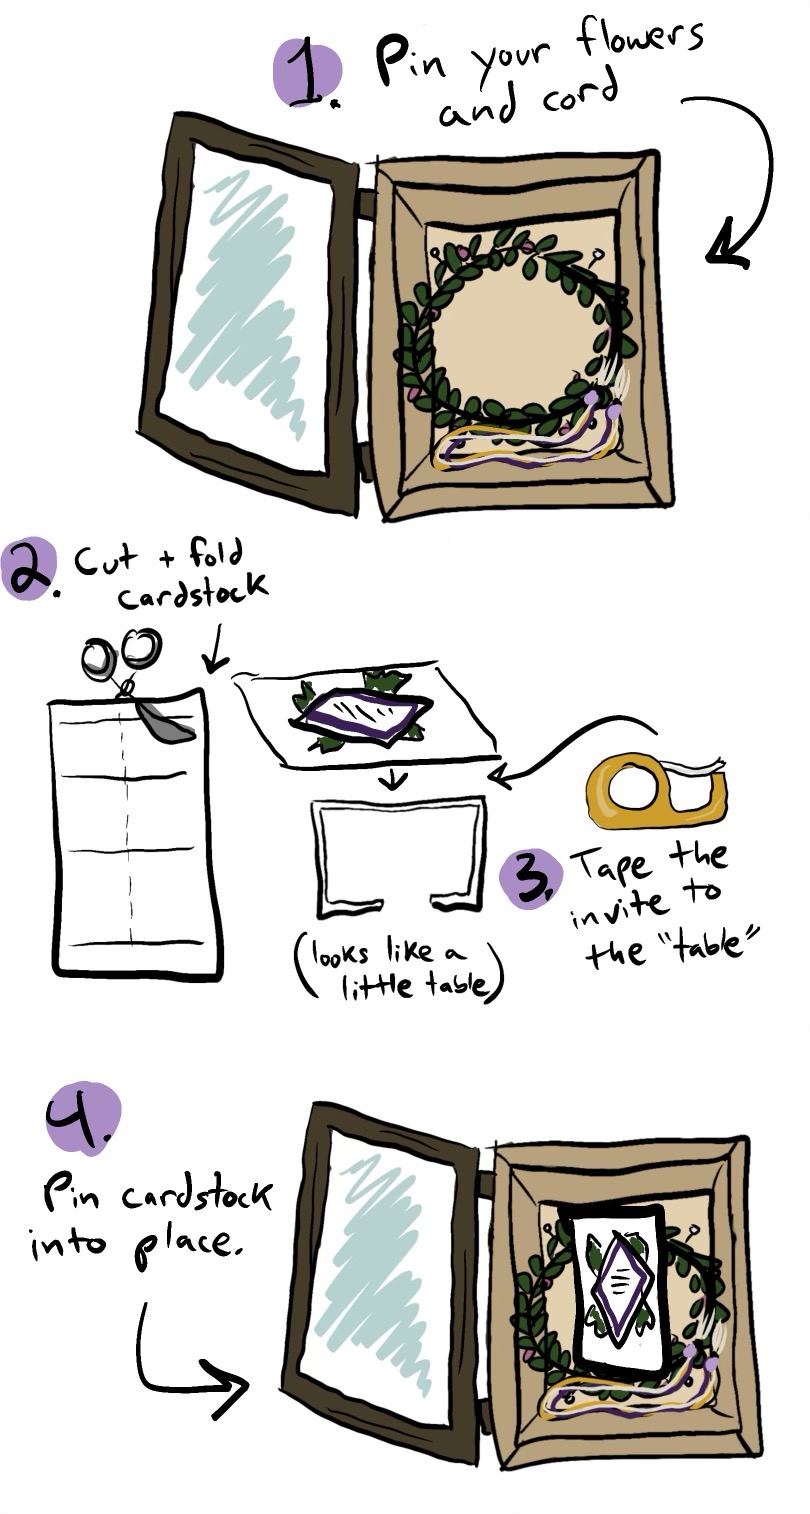
Step 1: Carefully pin your first layer into the shadowbox padded backing. For me, that was my flower crown, which I made sure to pin as gently as possible since the crown had become dry and delicate with time.
After that I pinned by handfasting cord to the backing, making sure to pin the tassels upward so they could be seen easily once the box lid was closed.
Step 2: Cut a strip of card stock and fold it into a “table” shape. This table should also have little “feet” on the “table legs”. These “feet” will help you pin the card stock to the backing more easily.
Step 3: Tape your invitation to the card stock “tabletop”. This card stock attached to your invite will give your shadowbox more depth and a solid foundation for your invitation to sit on.
Step 4: Pin your card stock/invitation to the backing of the shadowbox.
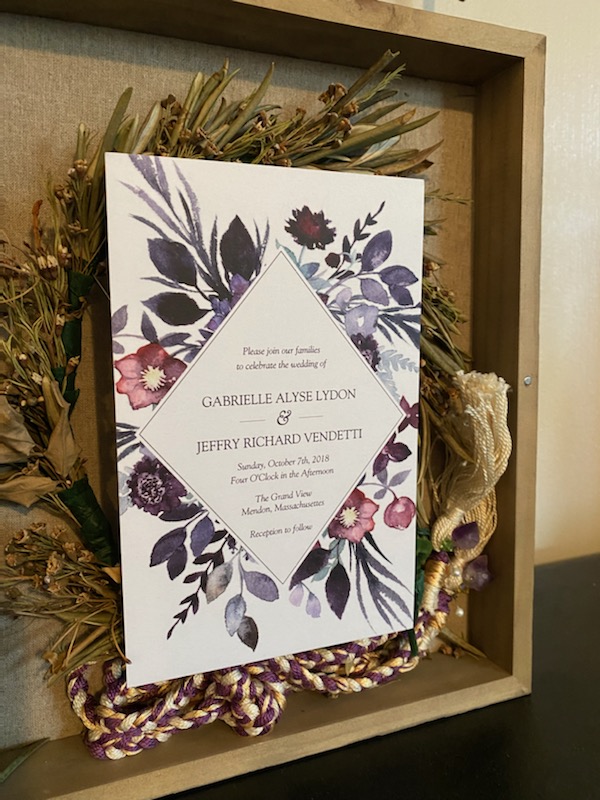
…And you're done!
This is just how I approached my project, but feel free to modify the steps to accommodate any unique treasures. I hope this helped you preserve your wedding day pieces, and that this is a fun and easy way to display items from your special day!
