

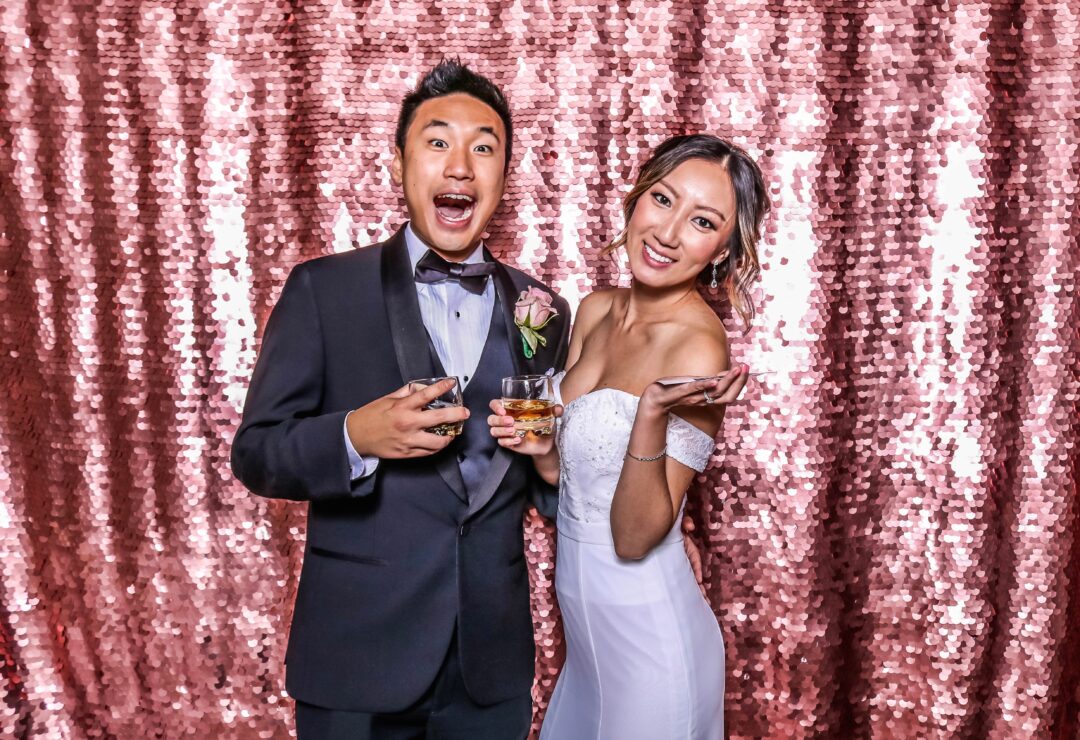
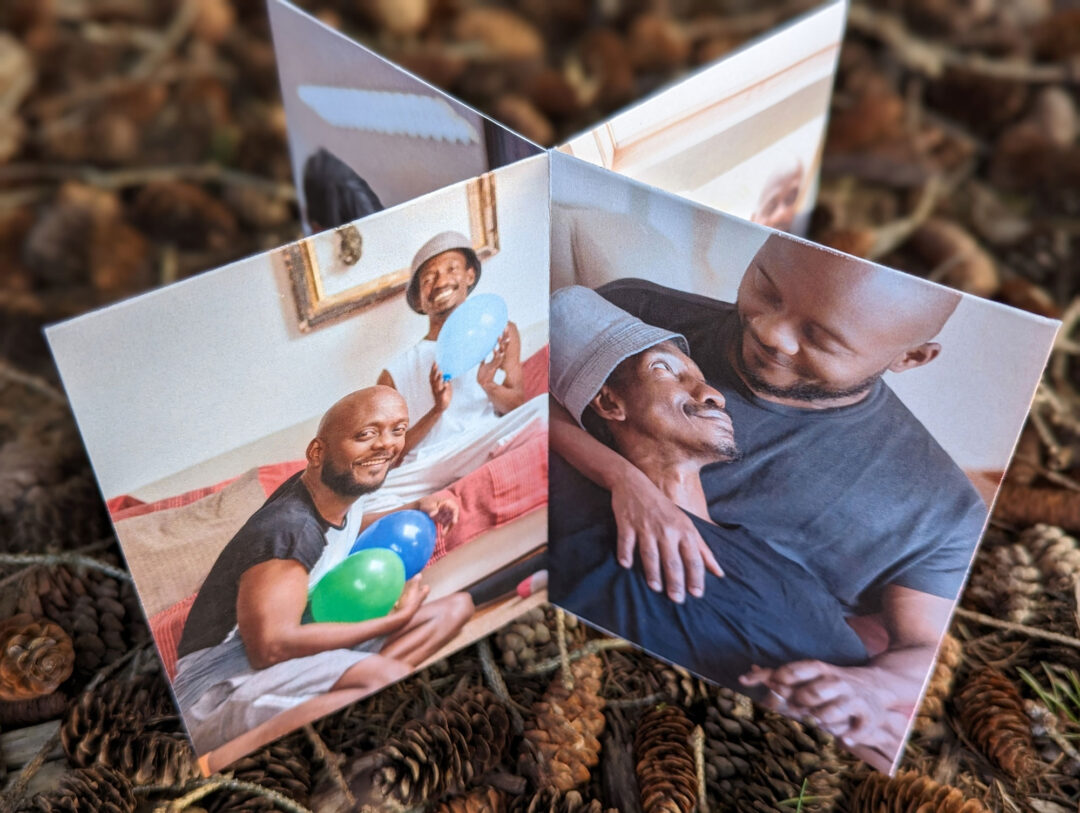
I recently made a wedding album from a set of photo booth shots, and figured that’d be the perfect thing to share with you guys:
What you wanna do
1. Download BookSmart
It seems obvious, but first you need to download BookSmart, Blurb’s super-incredible book-building program. It’s both Mac and PC-friendly (and you miiiight be able to get it to work on Linux?), and I’m pretty sure you can’t make a book on the site without it. It’s super simple: upon signing in you’ll be asked if you want to start a new book or open an existing one. Assuming this is your first time either with the software or working on this particular book, it should be pretty clear what you choose.
Next you choose a size. I tend to go for one of the two “standard” options — portrait or landscape, but it’s all up to you. The next step is picking a layout. I’m particularly picky about how my books look, so I always opt for “Portfolio” since it’s super easy to customize. You select your source at the next screen, and then choose a theme. Again, the theme’s up to you (my fave is Viewfinder).
2. Import your photos
To me, one of the coolest features about Blurb books is that you can import photos from all over the place: your Flickr account, your computer, Photobucket, Picasa, or SmugMug. The “Get photos” page is the second or third one in the process, and it’s pretty easy to spot:

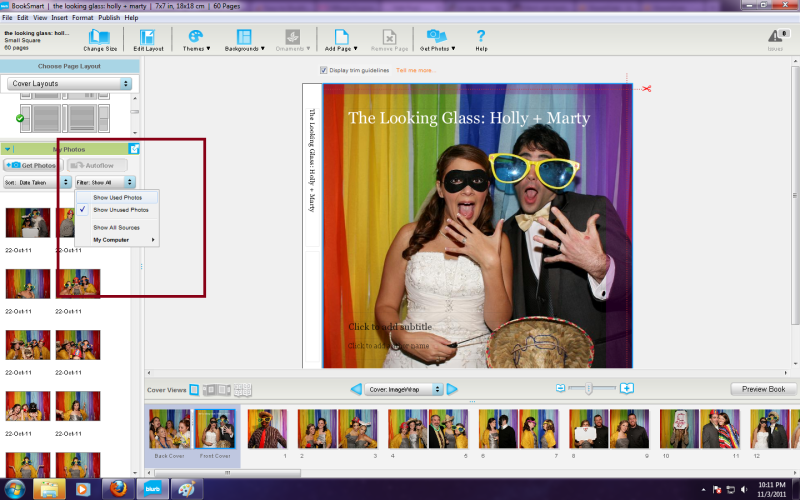
Note: after you’ve selected your photos, I’ve found it’s nice to have unchecked “used photos” under the filter dropdown menu — that way you’ll only see the photos that HAVEN’T been used. If you change your mind about using a particular photo, just replace it with the one that you do want — the original will go back over in the “unused” pile.

3. Get fancy! Or keep it simple
Blurb has tons of cute templates, and you can also wing it and design the book you want. There are all kinds of extras, like themes, backgrounds, and ornaments you can add. In case you can’t find ’em, those are at the top of the screen:

Luckily for those who aren’t so book-minded, Blurb will also tell you if your photos will fit into the spots that you want — things like photo quality and resolution play a role in this, but I’ve successfully created books with photos from DSLRs and point-and-shoot cameras. When you’re ready to preview your book, I suggest checking “display trim guidelines” so you can make sure the parts of the photo you want in the frame are there:

4. Order!
After previewing, you can select “order book.” Your book will then be uploaded to the server, where you’ll select paper type (they have “Pro” paper, but I’m always happy with the auto choice) and book style (I love ImageWrap).
So, folks: happy book making!



17 responses to “A step-by-step guide to making your OWN wedding album with Blurb books”
I am surprised you didn’t mention other print on demand services that are also easy to use, like MyPublisher and the like. Is there some reason why Blurb is a better option, in your opinion, than other services?
Also, if you are going to make a book of your professional wedding photos, you need to make sure that your photographer has granted you the rights to use your images in that way.
I’ll let Stephanie answer for herself, but I’ve had VERY negative experiences with MyPublisher.
Honestly, I’ve only used Blurb. I started using it because I knew someone else who did, and got hooked. Their customer service is awesome (they’re super helpful if you have questions, and will walk you through things if you need them to). In other words: they were the first option I went for, and I’ve never had a reason to look for another.
And the part about the photographer is right. We give our clients their full res images and share copyright and let them do whatever they want with the photos (except for re-editing), so I forget that a lot of people DON’T do that.
Blurb is also reeeeally good about replacing your book if it is even slightly imperfect. We ordered one book as a gift for someone, and when it arrived it had a big of damage to the spine (not major, but enough that it didn’t look *brand new*). We sent photos of the damage to Blurb and they sent us a new copy, free of charge. Best part was we got to keep the original, so we were able to give the perfect copy away and keep the slightly-imperfect one (worth about $65) for ourselves!
I just got on there and tried out the option before downloading the program, i think it was called bookify online, and that was super easy too. If you aren’t as sure of your creative abilities or your looking for a template and guidance for your first book it worked pretty sweet! I think i just found the perfect christmas presents for a few people 🙂
They make AMAZING Christmas gifts! We make books for our family members every year. 🙂
Wow, these will make great gifts in our family this year, not just for wedding photos, but lots of other photos as well. We’re hikers and my family loves to see our new photos every single weekend.
The biggest perk of a Blurb album is that you aren’t limited to pictures! My wedding album includes the blessings the rabbi recited at key moments, the stories behind certain pictures (like my bare feet), the entirety of my rabbi’s speech, the lyrics to our first dance song and more! Pictures are important, but pictures AND stories? So much better!
::sigh:: But they still don’t support Linux so I can’t use them as easily as I would like 🙁
Did you see this link in the post: http://forums.blurb.com/forums/1/topics/7442?
Some people have gotten it to run through Ubuntu. What operating system are you using? I know next to nothing about this, but my husband is on Ubuntu so I’m kind of familiar with it.
Fantastic post…We did this for our albums and made special albums for both sets parents. They are fantastic. The best part is that it is not prohibitively expensive and you can have all of the fun photos with none of the guilt-just keep adding pages. We have loved the quality of our books and the ease of booksmart.
This looks awesome! I also have a *thing* about leather. How much do these books usually cost?
http://www.blurb.com/create/book/pricing
This link has all the info on pricing. It all depends on what custom options you choose. The different sizes, number of pages, type of cover, quality of paper, style of endpages, and whether you want to get rid of the Blurb logo on your final page all make a difference. They have a lot of options for smaller budgets, though, and even their cheapest books are quite nice (though the softcover doesn’t feel “formal” enough for a wedding album in my opinion… but it was great for the little collection of drawings my husband compiled for me at Christmas!).
I’ve used Blurb since it was mentioned on OffbeatMama. You can use it without downloading BookSmart, it’s called Bookify (as someone’s already mentioned). I used that to make a book of engagement photos.
But for the wedding photos, I used BookSmart and really liked the increased flexibility. Like someone else did upthread, I put in sermon notes, anecdotes, song lyrics and all sorts into it that I couldn’t with Bookify. Really positive experience.
And the prices were pretty good too! The Engagement book cost me ~AU$70 and the Wedding book will cost about ~AU$120. It all depends your binding, paper and page number preferences.
We did a Blurb book for our “paperwork” wedding and our big celebration and they are both TOTALLY AWESOME. We gave them as gifts to my parents and my in-laws at Christmas, and they are a HUGE hit. Way better than a regular album!
My dad’s co-worker made an engagement photo session blurb book and had it on his card table at his wedding. That’s where we got the idea – it was totally awesome too.
Love love love love Blurb. I did a trial run with our honeymoon photos to get an idea of the quality, and loved it. Also love that you can add text – I’m a bit of a foodie so had a lot of photos of meals we ate etc, and I wanted to be able to look back and know what & where we had eaten. Now just have to work on the wedding album. Ive gotten as far as uploading the photos in to BookSmart…
For my own wedding, as a photographer myself, I asked my wedding photographer for just the raw unedited photos, so that I could edit them the way that I wanted. This meant making my own albums as well. I used blurb, and found it to be amazing. It was simple to use (if slightly difficult to customise if you want a standardised layout like me, but not impossible).
But their print quality was amazing. We had albums printed off for both sets of parents as well, and everyone who has seen them raves about them, particularly the quality.
I guess the only thing I would add to this post is that if you would like a standardised look to your album, keep the same spacing between ALL photos, regardless of their size. It keeps it looking consistent and tidy.
Good luck to anyone making their own albums and I do highly recommend blurb 🙂