There is no right or wrong way to make handfasting cords, and they can be as elaborate or simple as you want them to be. It really comes down to what you want to represent yourselves, or what is easiest for you.
The only time the cords are to be dismantled/unknotted is in the case of a hand parting, so please remember that anything you use to decorate your cord is to remain with it for as long as you are bound to each other.
Your cord should be long enough to loop over both wrists as well as being able to make the knots.
We've read that if you are using a single cord, that a generic rule of length is ideally no less than 6 feet.
Again, it's up to you.
How to DIY your handfasting cords
Step 1: Ribbon & Cording
Michael and I picked out our ribbons separately, but when we put them together they were matching color palettes. We each chose to use three ribbons for our cords but you can use how many you feel is right for you. We chose to use doubled-sided satin ribbons that were purchased at Michael's. We've seen them made of drapery cording, silk cording, decorative ribbon and even parts of a couple's wedding attire. You can embroider them, print/paint them, etc.
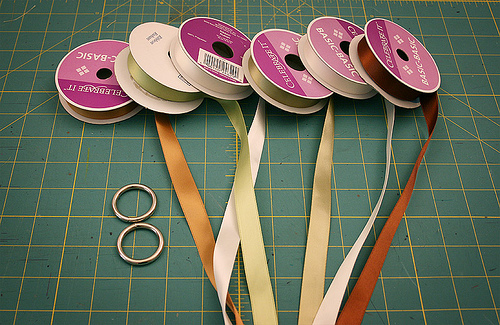
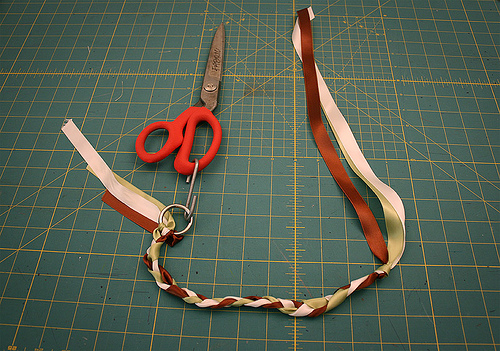
I had some O rings lying about in my tool caddy. (I tend to buy in excess a variety of ‘things' when working on costume projects. It saves me from having to run on multiple errands or paying for multiple packages to be shipped. Eventually I find something that will work.)
Michael tied the ends of the ribbons to the O rings, slipped it over a hook and attached it to something stable. For him it was one of my dress forms but for these photos I used my very heavy pair of fabric scissors. He braided the cord to each of our lengths. He also said silent prayers as he plaited. (Again, do whatever makes you comfortable.) When he got to the end of each cord, he tied it off with enough length left to attach the tassels.
Step 2: Tassels
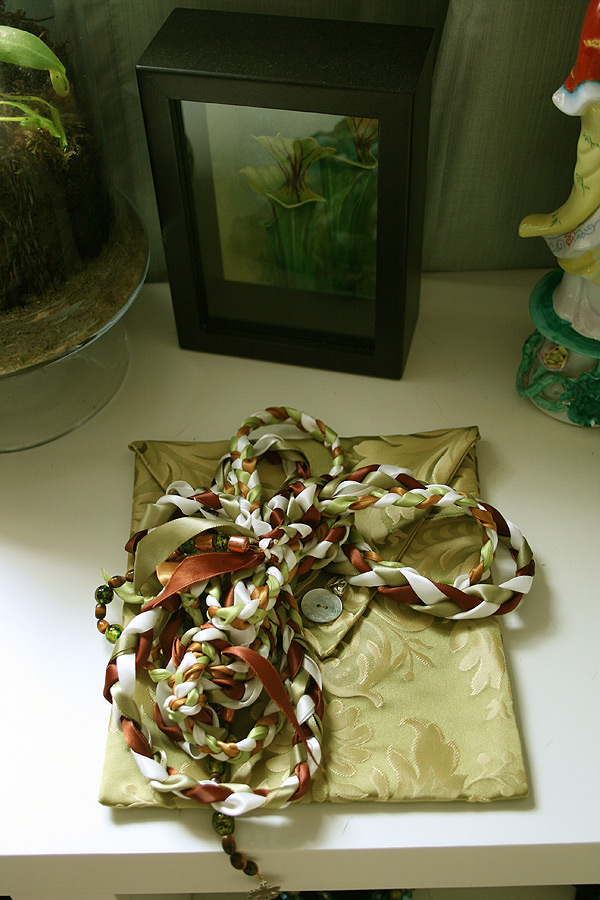
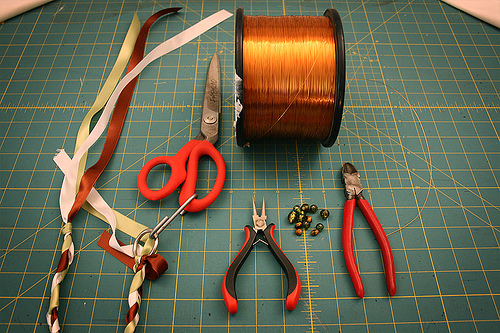
We purchased new beads and incorporated a couple that were in our bead box. The copper wire and beads represent Michael's love for building Tesla Coils and other high voltage projects, the Tiger's Eye is for protection and the others have their special purpose.
Make a largish loop at the top and then begin to slide the beads/what-nots until the desired length is reached. We added our charms at the end and looped the wire, and wrapped the end around a few times before cutting. We then attached the tassels to the extra length at each end of the cords.
Step 3: Charms
We chose two sterling charms each for our cords. There are several sites where you can buy the charms (ArtBeads.com, BlueMud.com, FireMountainGems.com). We choose to use Art Beads because they had what we were looking for and it made sense to pay one shipping charge.
Voila! The DIY handfasting cords are finished.
I hope this has been helpful for some of you! Offbeat Bride also has a handfasting archive… You may want to check the posts for inspiration.
PS Need some DIY handfasting cords inspiration?
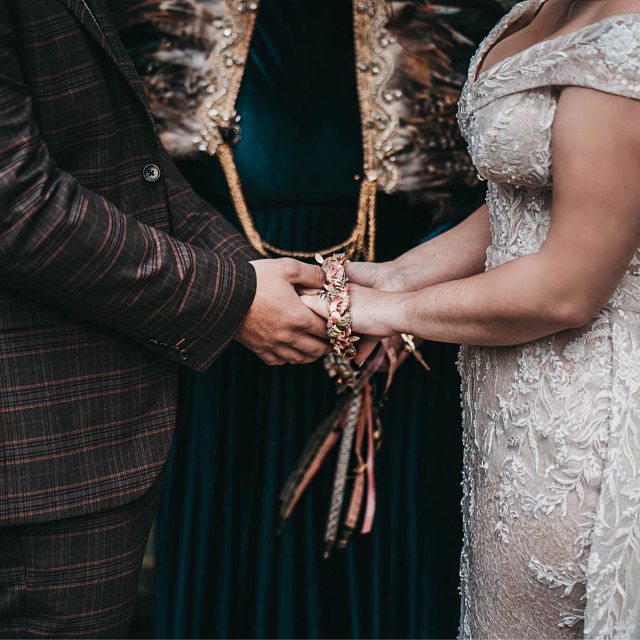
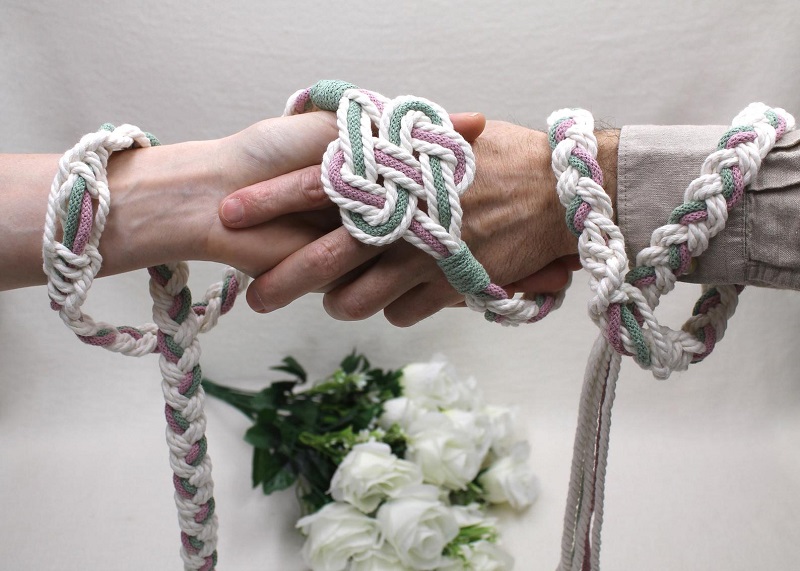
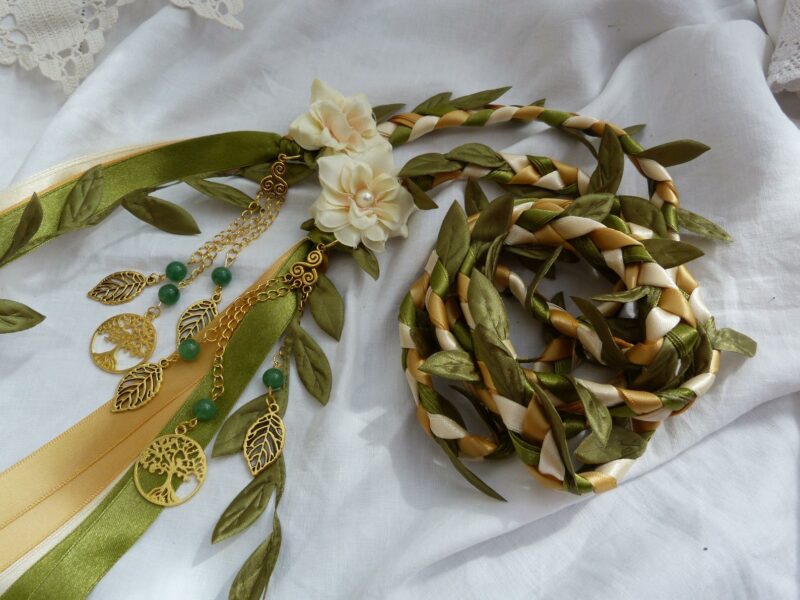
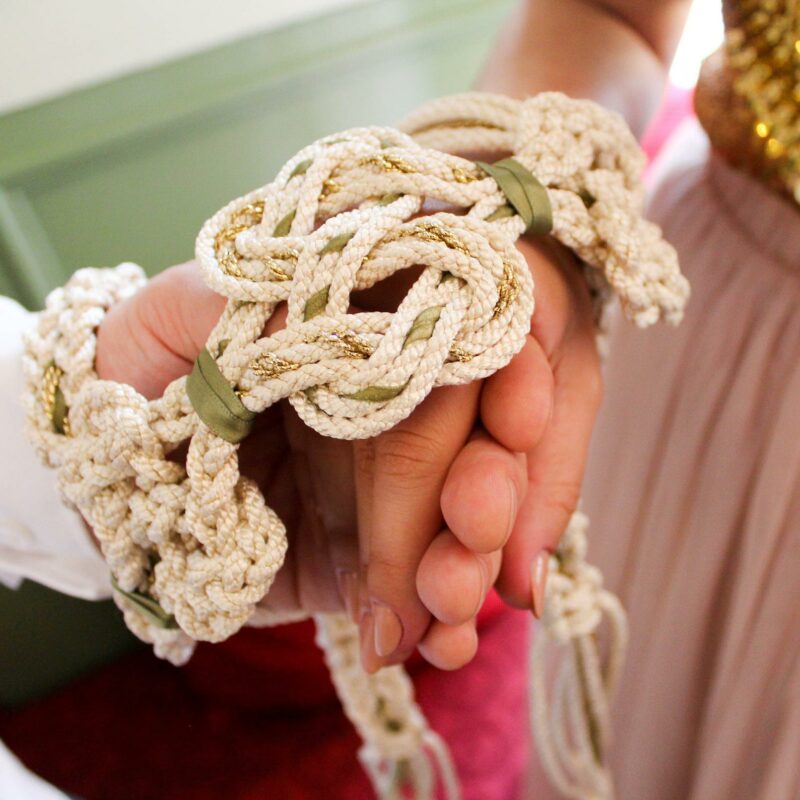
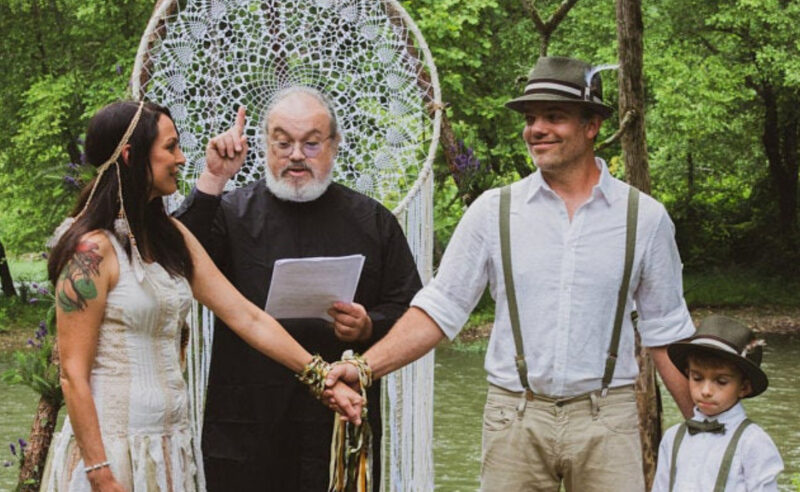
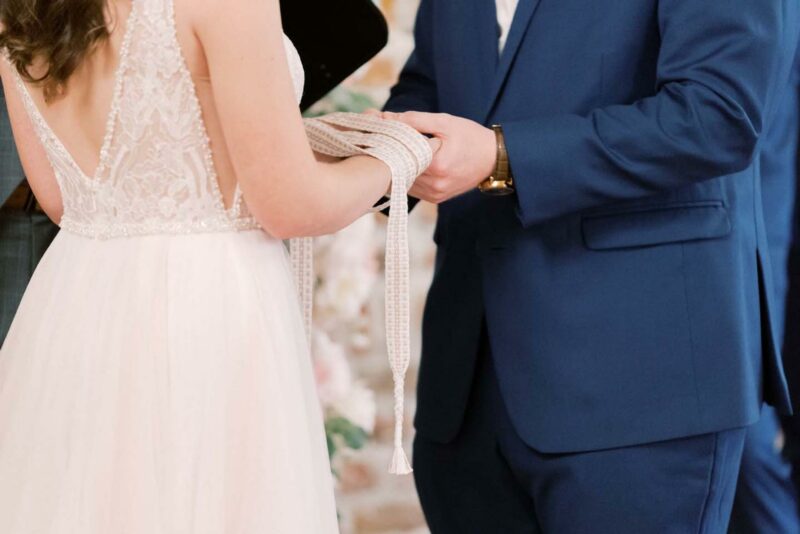
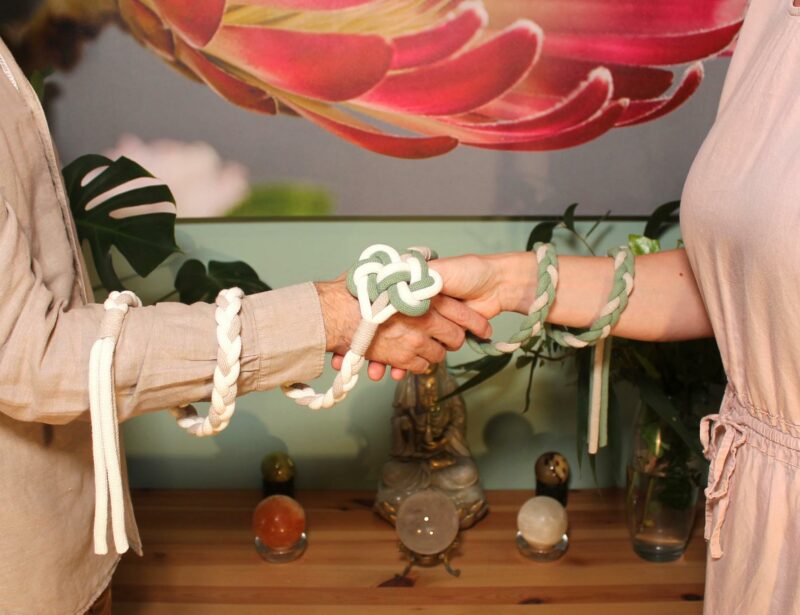
Here are some of our favorite handfasting cords from Etsy, if you need some inspiration (or if DIYing ends up being too much of a pain in the ass)





I found a trick a while ago to transfer words onto ribbon, it only works if you have an inkjet printer though. Print the words you want out backwards (photoshop, yo), and then rub acetone on the back of the paper while pressing the front onto the ribbon. The ink will come off the page and stick on the ribbon, it’s super cool. It’s how I made this:
http://www.flickr.com/photos/22624471@N02/2686264282/in/set-72157606277647687/
Though I’m sure it would be used in a much prettier way in a handfasting!
That is so cool! I’m definitely going to give that a try.
I think you mean it only works if you have a laser printer or copy machine.. not an inkjet.
I think she actually did mean inkjet. A lot of transfer type things don’t work with laser printers. Inkjet’s the way to go for stuff like that. 🙂
http://www.youtube.com/watch?v=mv4d2zRPbG4 this is a link verifying the use of a LASER printed image. I’ve heard of some inkjet methods but the laser/photocopy method is different.
brilliant! thanks for sharing your lovely work. i’m sending this to my friend who’s planning an october handfasting. blessed be!
Those are so lovely!
A saucy dweller and an offbeat bride, you are awesome!
Super! Thanks for linking to my group. I could not seem to find any pictures of handfastings & chords when I was planing mine so it’s great to see others. Great tutorial Lepapillonvert!
Sure thing lady! I’m excited to see how the group grows.
@scunshine – thanks for the awesome tip!
If anyone else wants to add their ideas, please feel free!
Hello,
I had a question about the braiding. It looks like you folded the ribbon in the middle before (or during ) braiding. Is that correct? I just want to make sure that I do it correctly. 🙂
Dear Lepapillonvert,
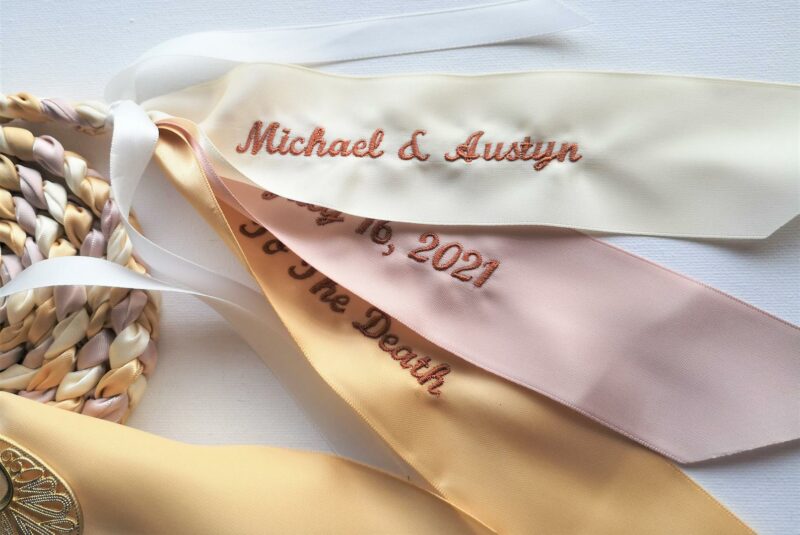
Thanks for showcasing us handfasting mavens and giving such great tips for personalizing the cords. Yours are gorgeous. I embroidered our handfasting ribbons with words from our vows as a stitching spell for our marriage. Preparing the ribbons was a really lovely preparation ritual for the big day.
Hi Leila Jo,
Did you embroider the ribbons by hand? How did you do this? I have no idea how to embroider. Did you then braid the embroidered ribbons into a cord?
Hi Offbeat Peeps!
My fiance and I did a handfasting last year, but had absolutely no clue how to go about it.
We ended up cutting short lengths (about 12 inches) of ribbon that we handed out to our guests.
As each guest came up, they shared something with the group and then tied the ribbon around both of our arms together.
We didn’t have to cut or untie anything (luckily, but completely unplanned) to take the ribbons off, just to wiggle a little bit, and then we used one last ribbon to tie all the loops together.
Reflecting on it, I feel deeply that we not only bound ourselves together, but our community of friends.
Leila Jo & Sarah Beth –
Wow, your stories are so beautiful and inspiring. Thanks so much for sharing them!
[…] were handfasted on Beltane under a canopy of oaks using cords made by my husband. Michael and I walked into the grove from opposite sides at the same time and met at the altar. […]
Thanks for the idea! I had no idea what I was doing and had no idea as to how beautiful and personal the cords could be! My Wedding is a week from today so I'd better get started!!!
I really love that you posted this, though I wish there were a shit of them laid out straight, since I am a visual learner.
Me and my partner are looking are looking at doing a hand fasting in a few months, just wondering do you need 2 cords or can you use 1? Cause basically me and my partner have picked up coloured ribbon that symbolises something to us.
Hi Natalie,
I just saw this response. As I said at the beginning of this article, there is no right or wrong way to make these! Do what feels right for you and your partner, that is what is most important, IMHO.
Please post a link to your finished cords, we'd love to see them!
Thank you so much for posting this … my fiance and I are getting married in a month, and I have been searching for ideas on how to make our handfasting cords and your article has been so helpful!!! Thank you again!!!!!!! 🙂
Great guidance. 6 feet is about right, so make sure that you make sure to get the spools of ribbon that are at least that. I was in a hurry and grabbed a couple of beautiful spools of ribbon–only to discover that they were THREE feet in length! Yikes!
Thank you so much for this post. Anyone else who has DIY’d Handfasting Cords, please post pics!
This is awesome. I really wanted to make my handfasting cord myself but really didn’t know the length. You’ve got some really good tips on here. Thanks so much.
Good idea!
Badass! I am so excited about this! I had a plan on what I wanted to use for my handfasting, buuut I scrapped the idea [because this is so amazing!]! Thank you for sharing 🙂
Quite apart from the handfasting ribbon, can I just say I’m intrigued by the bride’s headdress? It looks like it’s made of feathery awesomeness.
Hi Momo! That is a vintage hat covered in feathers. Part of the feathers are anchored to the base with netting. I got it at a wonderful vintage clothing store in Atlanta about 9 years ago. It’s probably my most treasured accessory.
Beautiful beautiful!!! We’re getting married in a month and I was wondering just what to do — and now I know. Awesomeness!
Thanks so much for this great instructional! I am making my handfasting cord for my wedding in 1 month and this was such a huge help. I originally wanted to use 6 colors that were visual reflections of our vows, but realized that the project was a little too daunting for me to do (and have look nice), so instead I’m sticking to three ribbons and adding inspirational charms. I love your addition of stones at the tassels. Thanks so much for this post! I will provide picks once finished.
Hey, two of our wedding part work at Fire Mountain! My groom’s best man and one of the other groomsmen. Sorry, I just thought that was cool.
Beautiful cords, thank you for giving me ideas for what to do for mine!
hello my partner and i are having an handfasting we dont now where to get the clothes from and the ribbons and the people to do the handfasting does anyone now anything that will help us
I would really like to buy the charm you pictured, but I could not find it on artbeads.com, do you have any suggestions.
Which charm you are interested in?
So, I’d love to a handfasting, but I’ve come up with a problem, how would you do a father daughter dance at the reception?? I wouldn’t want to untie the cord, but it would make for awkward dancing? any suggestions?
There are no absolutes as to how long you have to keep your hands bound. Most people slip theirs off just after the ceremony. I don’t think you’ll have a problem. 🙂
typically the cord is slipped off between the ceremony and reception. Its tied kinda lose so that you can do this without untying it…. don’t want to do that. lol. My officiant tied it real loose during hrte ceremony and imediately afterwards tied it more securely and then slipped it off our wrists. We left it setting on our table for the rest of hte afternoon until we left.
I shopped for furniture fabrics online and found gorgeous pre-braided thick cord in our wedding colors (pink, sage green, cream), then anointed it with Handfasting oil from Twilight Alchemy Lab (also purchased online).
Tip: frames designed for a graduation photo and tassel are great for displaying the cord with a handfasting photo. Ours hangs over my altar. Here are examples of the frame I mean: http://www.framingachievement.com/certificateframes_FA10.htm The cord shows in the “window” designed for the tassel.
Hello, I was wondering how the middle looks. I see you have four ends. Did you each make you own cord and unify them in the middle somehow? I would like to have two ropes and four ends. One rope to represent me amd one to represent him, but Im having a hard time trying to figure out how most people connect them. I have not found a pic of the whole piece they are always wrapped up. When uniting the ropes should they be touching or is connecting them good enough? Thank you so much and sorry for all the questions. I do better with seeing then reading sometimes. 🙂
They are two cords that we used together, making one semi-fat cord. It’s really up to you as to how they are tied. You can have yours tied around you first and then his, or like us, having them together and then tied.
This is a shot of us from behind while we were talking with friends and family after the ceremony:
http://www.flickr.com/photos/38016153@N03/3638588932/in/set-72157618780161283
And one of Steve making the knots:
http://www.flickr.com/photos/38016153@N03/3638587982/in/set-72157618780161283
The Flickr group I linked to is also a great source of inspiration.
Ohh ok. You know I did look at it again and realized they were seperate. So yeah I like that idea so that way we can each hold a cord and bring them together at the ceremony. We always wanted handfasting in the ceremony ever since braveheart. So I like the seperate idea its similar to them holding eachothers cloths 🙂 Thank you so much for the inspiration!
I getting married on the 24th and my husband to be wants to have a handfasting at the ceremony. He was actually the one who sent me the link to this thread because I was lost on how to make the cords. Seeing the steps you took to make yours really helped. We decided to do one cord but used both our favorite colors for the ribbon, red for me, blue for him, and white to tie in with the wedding. He suggested that we each take an end and we buy funky shaped beads that represent us. Since he is a big miniatures gamer… We even drilled a whole through a pewter model to use as one of his beads. We ended with the same blue glass heart. We ended up with a very bright set of handfasting cords that were very ”us”. I love how they represent us together and individually.
Your explanation on how to make them really helped us figure how to put what we wanted together. (I’d post a photo but have no idea how.) 🙂
This is great & very helpful. My handfasting is this January & we’re def going to make our own cords now!
Thanks so much!
So beautiful.
we’re planning our ceremony in October and i cannot wait for us to create our own cords. After I read
it. I text my Fiance’ and told him that he gets to create his own. It made him smile ” the man loves to craft” Again They were so beautifully made.
Thanks for this brilliant tutorial. My handfasting will be August 18, 2012 🙂 and this was very helpful. Blessed Be. Suzie
Hi everyone, I am enjoying reading everybody’s input on this subject.
I am a Sydney based Celebrant and I have been getting a few inquiries lately on Handfasting Ceremonies and I need to learn about the the whole proceedure myself..
Can somebody tell me how I tie an Infinity knot??
Thank you
Paul Grech Celebrant
Hi Paul
Try this: http://www.youtube.com/watch?v=VpeaJKTw620
Hope it helps.
Oh, nice! I think I will use a very plain ribbon.
I am new to handfasting (i saw it years ago in the movie First Knight and realized with OBB that it was a real tradition). How are the hands supposed to be?
Are we supposed to be facing each other and to hold both of our hands like this : http://www.flickr.com/photos/38016153@N03/3638587982/in/set-72157618780161283
Or are we supposed to stand next to each other and tie one’s left hand with the oter’s right hand like this : http://www.flickr.com/photos/ec1jack/4717286822/in/pool-handfastings
Hi SansOrigineFixe!
Sorry for the very, very tardy reply! Even though we held our hands crossed during the ceremony Steven, our officiant, bound our hands like the sample you linked to. When we let go, turned and stood next to each other my left and Michael’s right hands were bound together.
Hi, this is a wonderful tutorial but I had a few more questions; do you leave the o-rings on? If not when do they come off? Also the beading wire, how does it go on? I’m a visual person and craft challenged and I want to do a good job on this…help! I am making my shopping list and going to the craft store in a week.
Hi Hayleigh,
Sorry for the very, very tardy reply! The ribbons are knotted together and then lighten knotted around the o-ring. It’s there purely to be able to hang it on something so that the cord can be braided. When you get to your desired length, just take it off!
What mm wire should I use? Did you intertwine the ribbon and beading wire or how did you do that? I have my beads and charms but not sure how to attach wire? Yours are so beautiful btw! I can’t wait to finish mine for our wedding in October!
Hi Nicole,
You should be able to use plain old jewelry wire for charms/beads/etc. IIRC, Michael looped the wires together and knotted them at the end. You can also use a small jump ring to combine all the extensions onto one piece. When you get to your desired length of cord, knot/tie the jump ring into that part.
Hope that helps!
In the pics, your copper colored wire is sort of magically emerging from the knotted ends of the ribbon braid. What’s going on behind the scenes there? how have you attached the wire to the ends of the braid so seamlessly? Any details would be great, I’m a very step-by-step sort of gal. Thanks for this inspiration!