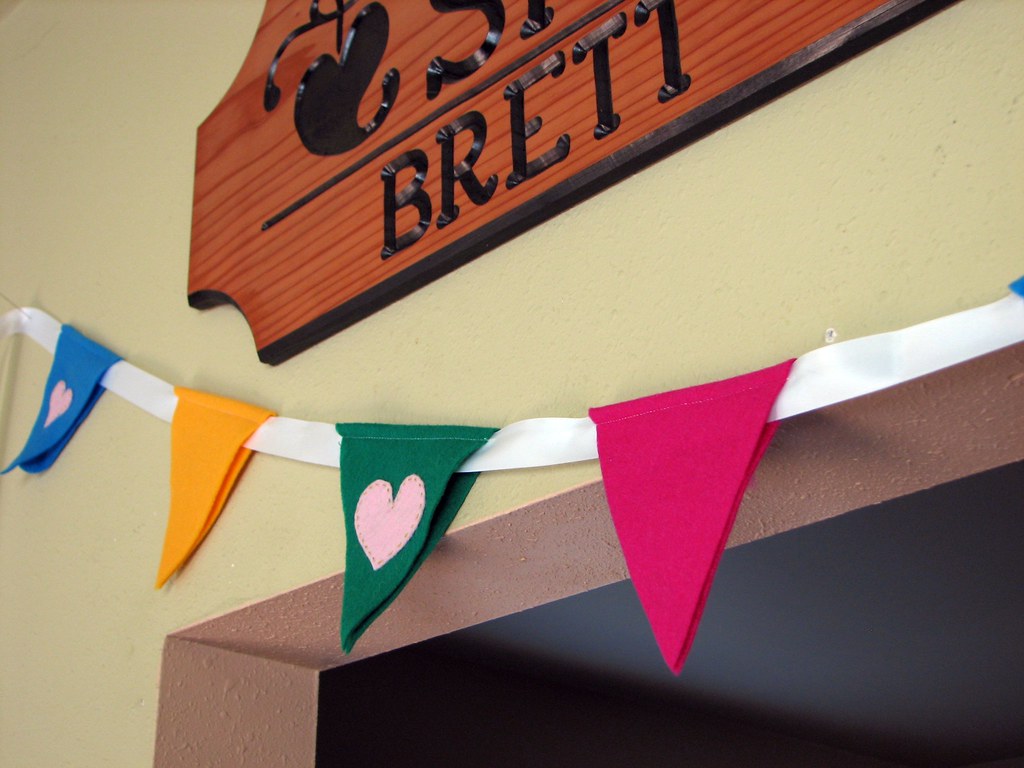
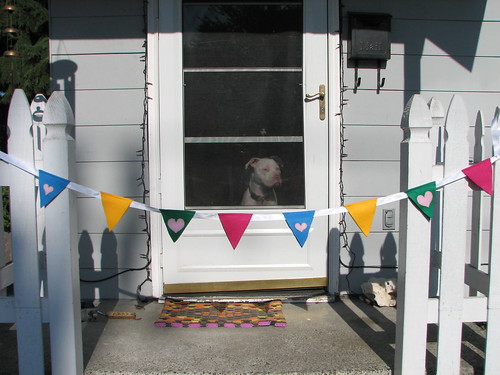
Bunting banners are a fabulous way to make your special day all yours. DIYing and making can help you save money, explore your own creativity and wow your friends and family with your amazing ingenuity. This is part two of a three part DIY tutorial series on creating a special banner for your big day!
Don't be afraid to start this project… it's super easy, though a bit more complicated than last week's doily banner option. The last feature in our three part series is coming up next week… and it's all fabric this time ladies. So get ready! Let's jump right into our second bunting banner tutorial, shall we!?!
Materials:
- scissors or rotary cutter
- thread (I would suggest using the same color as your ribbon)

- pins
- ruler or measuring tape
- felt, in several colors in the color scheme you like
- small piece of scrap cardboard
- grosgrain ribbon (or similar), about 1/2″ x however long you want it
- fabric pen or pencil
- Fray check (optional)
- sewing machine and sewing skills (if you're a sewing novice, that's okay!)
- OPTIONAL embroidery needle
- OPTIONAL embroidery thread (in contrasting color… read through to find out why!)
Step 1:
Gather all your materials. Cut the ribbon to the length you'd like it to be. For this tutorial, I did a mini version that was approximately 2.5 yards long. Apply fray check to the ends of the cut ribbon to prevent fraying. Mark the center of your ribbon with a pin, so you have that center point to work from.
Step 2:
Take out your ruler and scrap cardboard. Draw a straight line down the center, and then trace a triangle onto your cardboard. Mine ended up being about 5″ tall and 3.5″ wide. You will use this to cut out your felt triangles to make sure they're uniform in size. If you're working with scissors, instead of a rotary cutter, you will use the fabric pen to trace the triangles onto your felt for cutting. If you're working with a rotary cutter, you can simply place the cardboard triangle down and cut… moving on to the triangles…
Step 3:
Fold one piece of felt in half, so that there is a folded edge and an open edge. Place the cardboard triangle, pointy side facing  towards the open side, on the felt. Make sure the flat side is in line with the fold. This way, when you cut out of your triangle, you actually have a diamond. Then, you can fold your triangle OVER the ribbon, so that the triangles match up on either side and it looks super fancy.
 How to DIY a festive wedding banner: Part 1
In lieu of bunting banners, we had Mexican papel picado paper banners at our wedding, but making buntings is an easy and super chic way... Read more
Now start cutting! Cut several triangle/diamond shapes out of each color, on the fold as described, so you can stagger them and create a brilliant rainbow of awesome. You can also just use one or two colors of felt, if you wanted a more simplistic color scheme.
Step 4:
Start by placing your first felt shape “x” inches away from your center point. When you go to place your next one, double that measurement for the spacing. I spaced mine 2″ from my center point, so that each flag was 4″ apart from each other. Pin each one to the ribbon as you go, sandwiching the ribbon in the fold of the felt, so that the points hang down, one on each side of the ribbon. Pin on both the left and right sides of the triangle to assure that the shapes don't shift while sewing.
Step 5:
You're going to want to sew each felt piece onto the ribbon, starting from 1/4″-1/2″ from the outside edge of the felt shape, all the way across, and finish 1/4″-1/2″ on the OTHER side of the felt shape.
In other words, only sew from one side of the felt shape to the other, not across the entire length of ribbon. If you sew from one end of the ribbon to the other it's likely that the ribbon will bunch and hang weird, which I tend to like but you may feel differently.
These next few steps are kind of optional. I think it adds a little extra sumpin' sumpin', so that's why I like it… and it's a chance for even more customization.
Step 6:
So, we're gonna add some cute shapes or letters to your triangle shapes! First, simply cut your letters or shapes out of a contrasting felt color that you like and think would look super rad on your little felt banner pieces. Decide where you want to place them on your banner string… I staggered my hearts every other flag piece to make a romantic sweet little wedding banner. Now pin these little shape doo-dads on your banner pieces.
Step 7:
Quick note: If you are an embroidery newbie, don't be shy! It's an easy and fun craft that you'll master in a jiffy. Check out this tutorial that gives you the basics. We're  forgoing the embroidery hoop for now, as your felt banner pieces are probably too small to work with in a hoop.
Thread your embroidery needle with your contrasting thread. Start sewing, or embroidering, your shapes or letters onto your banner pieces where you have pinned them. Once they are sufficiently secure and won't shift while you finish stitching, you can unpin them so you won't poke yourself!
And hot diggity dog! You have a personalized, super colorful and cute DIY bunting banner! And with any luck, you have a cutey patootey pup like me that likes to pose for the camera!
The banner I made for this tutorial post is now up in my Etsy shop! I can make custom lengths, colors and designs… so if you're itching for the handmade look but don't have the time or the skillz gimme a shout! – Offbeat Shrie


Here’s a similar-looking, no-sew option if you don’t have a sewing machine!
http://adventureswithalissa.blogspot.com/2010/04/easy-diy-celebration-banner.html
The bunting is cute, but the little pittie in the bottom picture is adorable!
She is! She is our Iris. We love her snuggly self.