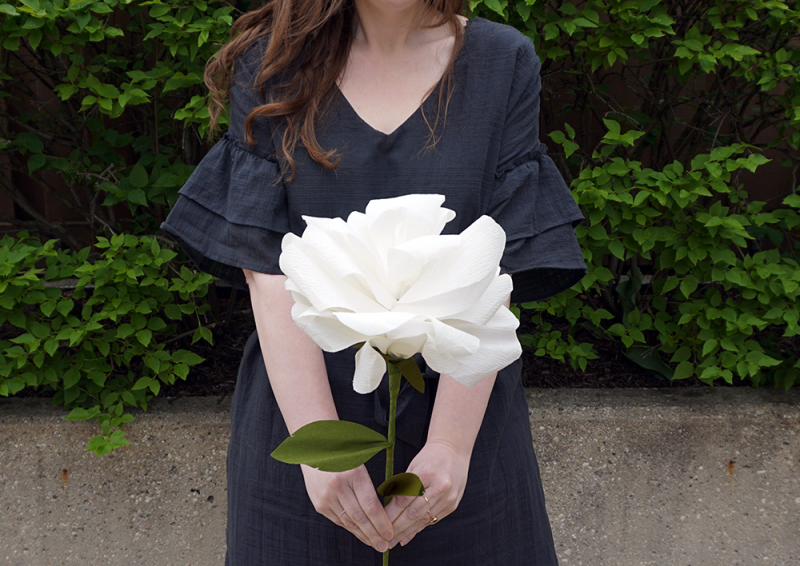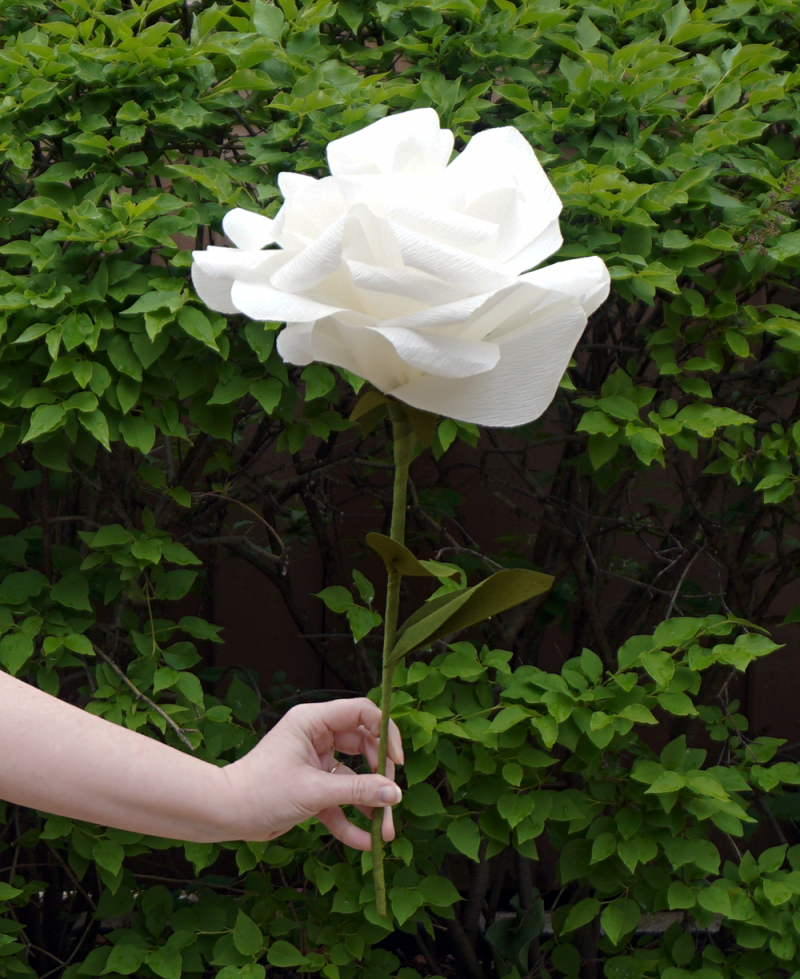
We know HUGE bouquets are super popular right now, but what if we mega-size the actual flowers instead of just the bouquet size? We love a good huge flower bouquet, headpiece, centerpiece, or ceremony backdrop. The bigger the better when it comes to these bad boys. Imagine a whole wall of them!
The best part? You can totally make these yourself.
Here are the steps that will transform some crepe paper and floral tape into your new striking bouquet or centerpiece flowers. Let me know if you end up making one of them and what color you chose! Imagine these in dark blue, black, deep red… it can be a whole rainbow if you like.
Let's get to the DIY!


What you'll need:
- Craft glue
- Pencil
- Paper wrapped stem wire
- About 1.5 packages of crepe paper sheets for each flower (I used white and green, but any color combination works!)
- Floral tape
Paper templates to cut:
- 5 smaller petals
- 15 heart-shaped petals
- 3 leaves
- 1 flower calyx
- 2-3 crepe paper strips, about 1-inch wide

Step 1: Create the flower stem
Using two paper wrapped stem wires, wrap floral tape tightly around the two wires to hold them together. Floral tape is stretchy so you can pull it fairly tightly so it stays. Make sure to overlap the tape so that it sticks to itself. Don't worry if it unrolls slightly at this point. We'll be covering it up later.

Step 2: Cut all of the petals
First, download the petal and leaf templates here. Print them out at 150% or 200% depending on how large you want the flower to be. I used 150% size petals.
Once printed, cut out each template and use them as cutting guides for your petals and leaves. Cut out all of the petals and leaf shapes that you'll need (see the list above!). This can take a while, so feel free to stack the paper and cut them out in batches of four to six. If there are any creases, press them between heavy books or use a low iron.

Step 3: Shape the petals
Using a round pencil, curl the rounded ends the small and large petals. As you're shaping them, gently stretch the body of the petal into a rounded shape away from the curl, into a petal-like shape.


Step 4: Create the flower bud
Start folding the smaller petals around the stem with a couple of inches of paper. Using floral tape, wrap each petal so it stays in place. Make sure the tape reaches the bottom of the petal and connects with the tape that's already on the stem. It won't stick well if you don't.

Next, start doing the same with the larger petals, rotating around the stem, overlapping the petals slightly each time. Wrap each with a little floral tape to keep them in place. Make sure to cup each petal around the others as you go so it keeps its flower shape. This can be challenging!

I added one extra tiny petal, curled into a circle, in the middle of the bud to make it look more rose-like.

Step 5: Add the calyx
Slowly shape the calyx around the base of the flower petals, and use a little floral tape to secure it, wrapping until it reaches the existing floral tape. I ended up trimming the calyx shape a little to make it fit well.


Step 6: Attach the leaves
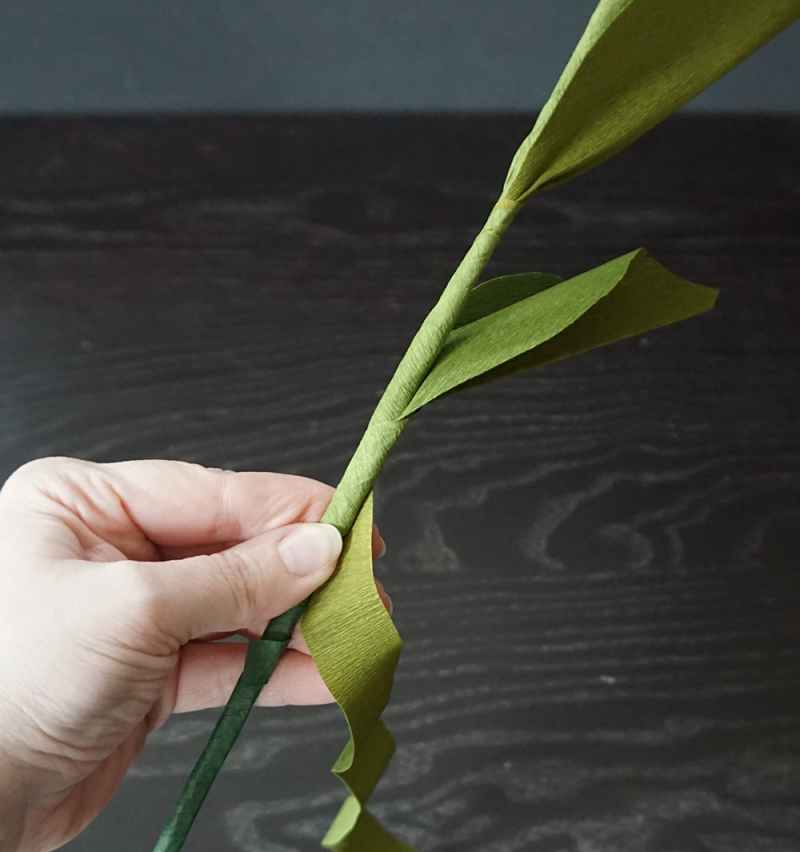
Fold the leaves in half to create a crease, then wrap the leaves around the stem where you'd like them to be. Use floral tape to secure each leaf into place.


Step 7: Wrap the stem in crepe paper
Using thin strips of extra crepe paper that matches the leaves, wrap the whole stem to cover the floral tape and secure it all together. Use a little craft glue on each end to keep it secured. Gently angle the paper around the leaves as you go. It's stretchy, so it should work fine going around each leaf.

After that, your flower should be ready! Feel free to re-shape the petals if they start to uncurl or lose their curve.


My girlfriend really like it!
Thanks for sharing the DIY keep posting interesting DIY .This is awesome flower bouquet DIY. it is new in our country i haven’t saw this kind of decor in wedding over here,Ill Try it and will surprise my friends and colleges.
Thanks ones again.