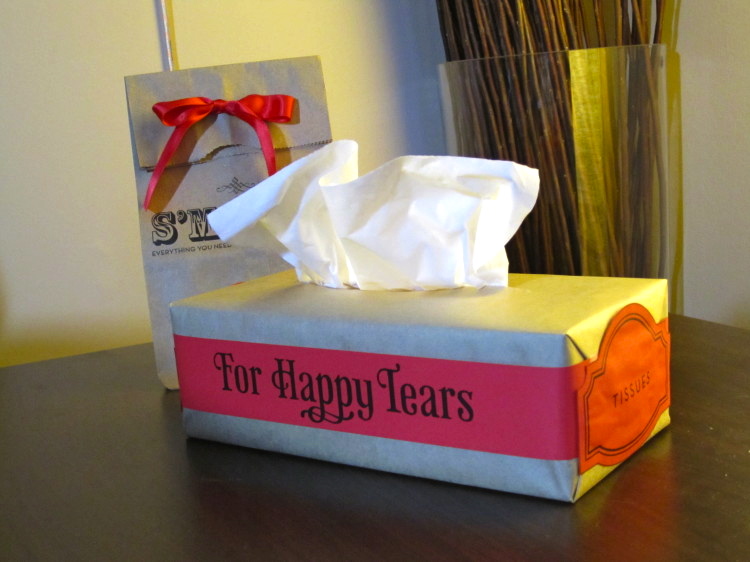
Kaitlin is one crafty bride, not only did she DIY those amazing Le Temps du Sucre-inspired invitations suites, but she also jazzed up tissue boxes for happy wedding tears.

I wanted to put out tissue boxes for guests to use during the ceremony, but I wanted to decorate them to match my wedding. They're easy and cheap to make! Here is a tutorial:
What you'll need for these DIY wedding tissue boxes:

- Standard tissue boxes (I got a huge pack from Costco)
- A roll of Kraft brown mailing paper (you can buy this from Staples, in the same aisle as the bubble wrap, envelopes and other shipping supplies)
- Ruler
- Scissors
- Scotch tape
- Colored accent paper (any paper that is printer-friendly will do)
- A black and white printer (I used a laser printer, but I'm sure inkjet would work just as well)
- Glue (white glue or a glue stick)
- Software to design the labels (I used Illustrator, but Photoshop, GIMP or even Word could work too)
- Optional supplies: Xacto knife and roller cutter
First, wrap the box

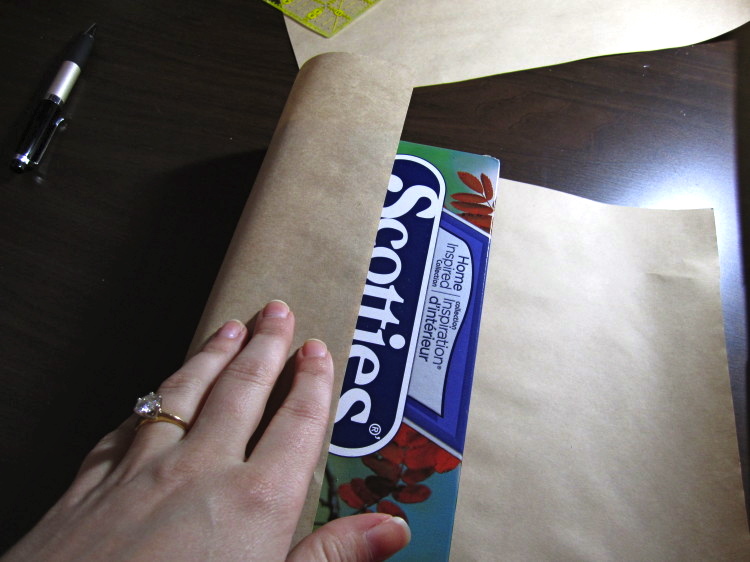
You need to wrap up the tissue box in the kraft paper, just like a Christmas present! First make sure you have removed the little piece of cardboard sealing the tissues inside the box (but do not pull up the tissues yet). Also, you want to wrap the box so that the seams of the paper will be at the bottom of the box.

As you can see from my pictures, I kind of suck at wrapping, but luckily the bottom will not be seen and the sides will be covered.

Now you have a wrapped tissue box! However, no tissues can get out!

If you look closely, you can see the oval shape where the seal was removed. Using an X-Acto knife or one side of a pair of scissors, slice straight through the center of the oval from one side to the other. Then, just pull the tissue through!
 How to DIY a fancy chalkboard frame
For an eco/budget friendly alternative to programs we did a chalkboard that listed all the members of the wedding party, and afterwards we're using it... Read more

Next, you will need to design your artwork

I used Illustrator. I created a document that was 11″x8.5″ and divided it into 1.5″ high pieces with the writing on it. Then I just printed it out using my laser printer on to the accent paper.


I used a roller cutter to get a nice straight cut, but you could also cut out the pieces with your scissors.

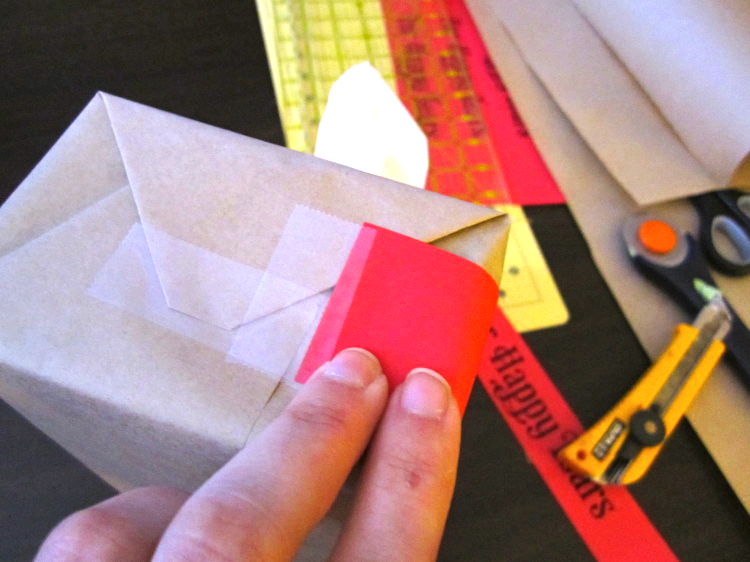
Position the strips evenly on the tissue box and tape the overlap down around the sides. Do the same on the opposite side.


Hmm, that edge doesn't look very nice, does it? Time to cover it up!

Design and print “labels” for the sides of the box. The shapes from mine were from iStock. I resized them so that they were about 3.5″ wide. Make sure they will cover enough area to hide any tape and seams.

Print them out on your accent paper and cut them out carefully by hand.
Then just glue them on to cover all the ugly parts!


That looks much better!

AND YOU'RE DONE! Here are the finished wedding tissue boxes


lovelovelove this. Definitely using.
Love this! I am notorious for crying at weddings/births and never saw something so perfect!
oh yes! that’s a must, Thank you!
This is great! I wish I’d thought of this. Instead, my 5 year old cousin decided to walk up and down each row before the ceremony and stand in front of each guest with a box of tissues until they took one. She did not take no for an answer, telling guests “you’ll need it.” No clue how she got the idea!
I love this idea! Genius!
I love this idea too!
I absolutely adore this idea! I’ll definitely be using these at our wedding!
Love this, such a simple idea but shows such attention to detail! My Mum is prone to the weepies, so I may well use this idea. Thank you! xxx
Omg, this is brilliant- and so well done 🙂 Great idea!
What a beautiful idea!