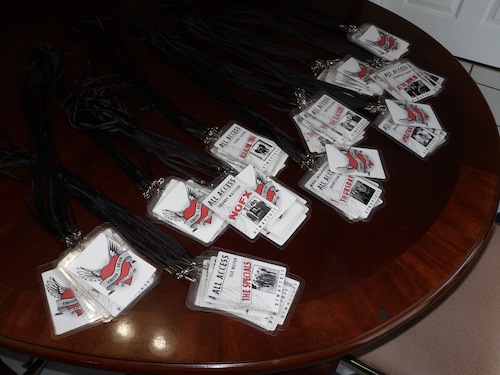
For our wedding, we decided to name the tables after our favorite bands, and make backstage pass “place cards” for our guests. I had an awesome graphics designer friend make the designs for me. Then my mom, sister, and I did the rest.
What you will need:
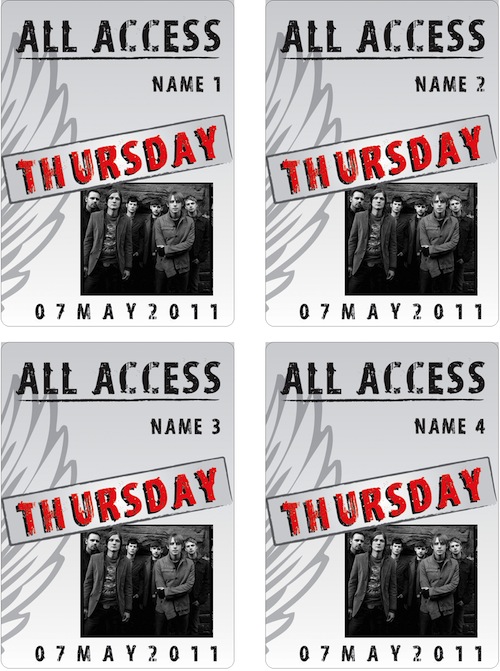
This is the design that my awesome friend made. I was able to change the band name and picture, and change “Name 1,” “Name 2,” etc, to actual guest name.
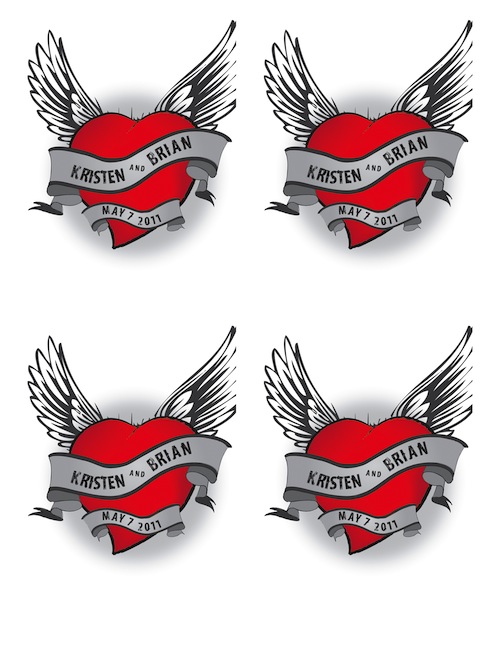 This is our wedding logo for the back of the passes. It lined up perfectly when it was printed on the back of the sheet. Still, I recommend testing it on cheap paper before trying it on your good paper.
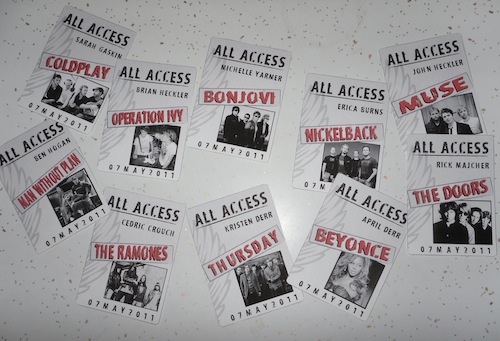
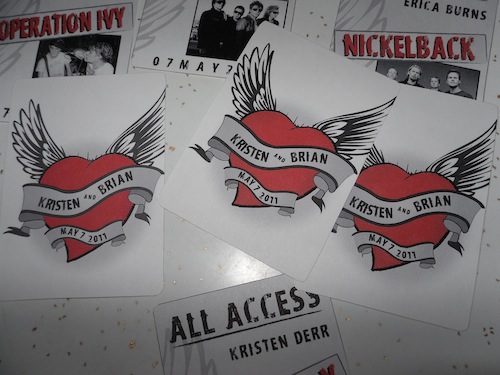 Print them on cardstock. Then cut them out. These are the wedding party's passes, un-laminated, front and back. (The wedding party got to choose the band we put on their pass. The guests got whatever band we assigned to them.)
 Wedding pins and buttons personalize the heck out of your wedding day
Reenie (of comic book style wedding invite fame) mentioned that she's DIYing the boutenniers for the guys and has accented them with nerdy pins. And... Read more
 Then laminate them! You can laminate four on one sheet. DO NOT use self-stick laminating sheets, as the results can look cheap. Use a heat laminator, and borrow one if you can. (My mom brought hers home from work.)
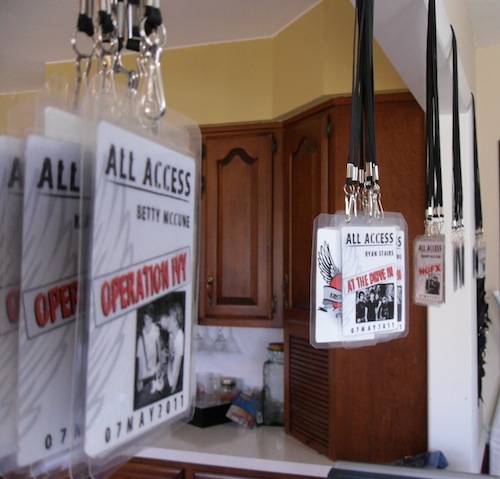 Make sure you leave enough room above the pass to punch a hole in it. Punch a hole in the top using a regular hole puncher, then attach the lanyard hooks. You can get a lot of lanyards really cheap on eBay. I paid $20 for 100.
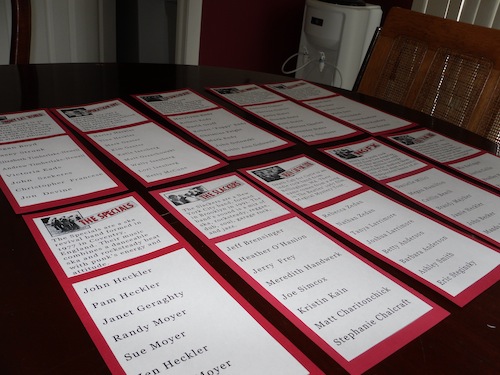 At the reception, I will hang them from nails in a cork board covered with red fabric, one band on each nail. On the table in front of the cork board, I will put these sheets. In addition to the list of guests who have been assigned to each band table, I put two sentences about each band (copied from Wikipedia, I confess) so our relatives aren't looking at their passes going “Who the f— is Alkaline Trio?”


I am always interested to see what people did for table names. I was told by many people that I couldn’t use anything except numbers because people wouldn’t be able to find the tables. How silly. I used countries of the European Union (and their flags) and everything went fine. It’s a really easy way to add a personal touch.
We assigned my brother and nephew the task of explaining the table name concept to people who didn’t understand it, but I don’t think anyone had any trouble. I prefer something neutral like bands names or flags (great idea by the way!), instead of table numbers. Then you don’t have people wondering why so-and-so is at Table 3, and they are all the way at the end at Table 8.
FI and I are planning on doing the same thing. Now we know how we can do it. Thanks for the tutorial.
We made something very similar as our baby shower favors. They were so fun, unique and “us”.
This is super cute! We’re hoping that people will help us out with parking etc at our backyard wedding, and I think we’ll use these to make them feel special and show our appreciation for their help.
What did you put on the tables to label what band it was?
This is such a great idea. I love the personal touch.
Have you got any templates as i am far from creative and love this idea!!
Hi Kristin, love what you did with the rock band theme, I plan on doing the same concept for my daughters Bat Mitzvah party this June. She’s having a DJ and karaoke so I’m expanding on the live music theme as well, and trying to do the decorations and centerpieces myself. Are you by any chance able to email the template you used? Thanks, Sharon
There is actually a oversized plastic card printer called the Matica EDIsecure DCP360XL. It is designed to print large ID /event cards used for VIP access and security badges. I don’t know about cost, but it is a great way to make oversized badges such as backstage passes. http://www.identisys.com/products/product-details/matica-edisecure-dcp360xl-event-card-printer