


Tribe member Midgetskagem has three different and equally awesome fabric flower making tutorials. So far she’s showed us how to make semi-kanzashi style fabric flowers that look like this. And here’s part two of the three part, fabric flower series. -Megs
 So this is the second part of the tutorial. This tutorial is based on some flowers that I started making a few years ago — the folding technique is Japanese (Tsunami Kanzashi), though I’ve never successfully perfected the art of authentically creating these flowers — instead I opt for larger flowers held together with thread rather than using rice glue. I love the effect from these flowers, and this is probably the style I will be using for my bouquet.
By changing the folding method halfway through you can create a slightly different shape, which I’m going to be using for my bouquets. You can of course play around and create a mass of differing shapes depending on what you fancy — it’s all up to you!
What you’ll need:

- fabric squares (my fabric squares are quite big — you can do them at pretty much any size.)
- a needle
- thread
- scissors
- fabric glue
- malleable jewellry wire
- scissors
- beads or some such to go in the middle
Steps 1 — 3
Follow the same steps, one through three, on this tutorial.
Step 4
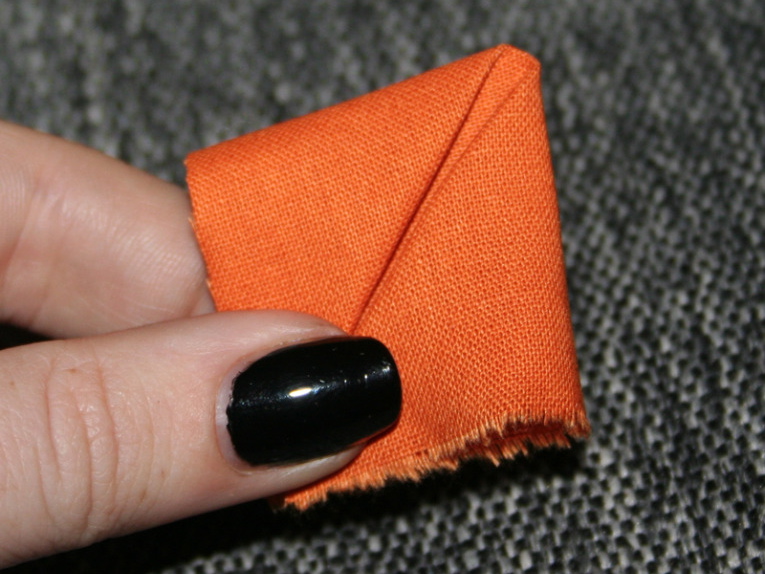
 This is a photo of Step 4, just to remind you. 🙂
Step 5a
 Fold this side in on itself — picture above is way better than that explaination!
Step 5b
 Like so.
Step 6
 Now, fold the edge over like so.
Step 7
 Fold on both sides, so that it looks like this.
Step 8
 As before, stick it with needle taking care to get it all on.
Step 9
 Then cut while on the needle as shown.
Step 10
 Sew the remaining petals, and it tie off relatively tight.
Step 11
 You can poof out the petals by placing your thumb/finger into the petal and gently pushing down, as shown.
Step 12
 Tadaa! Flower! Now, the interesting thing with this one is the back is quite pretty too…

Step 13
 Add then add the button.
 These two flowers are made of a much thinner material, and show the two possible sides of the flowers.
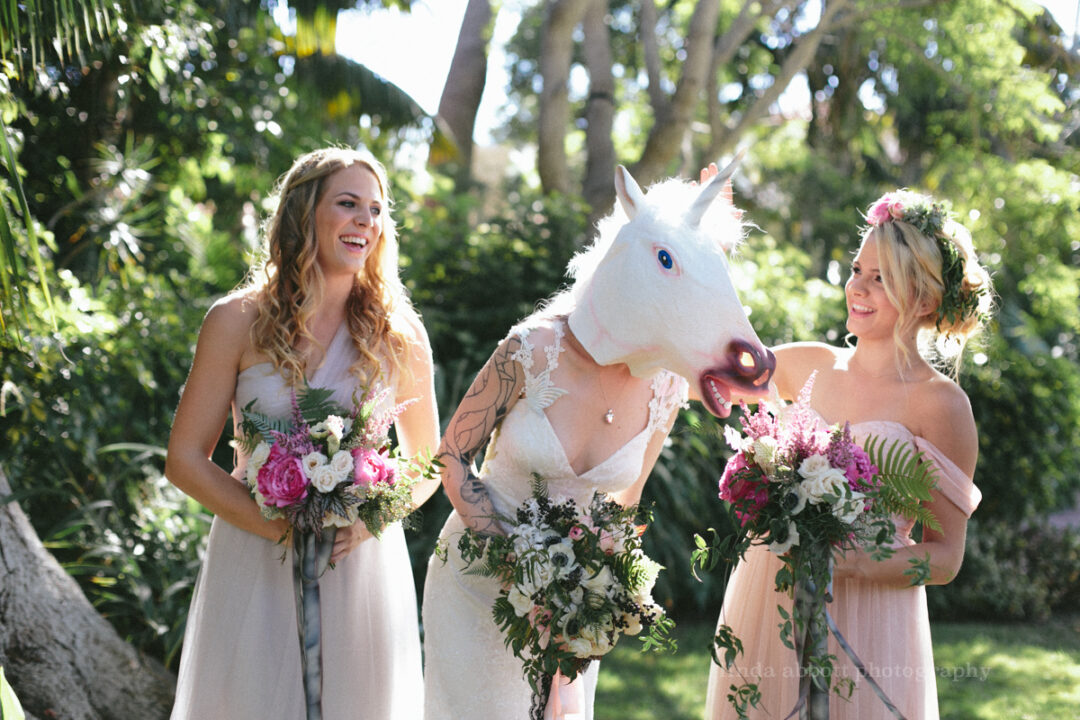
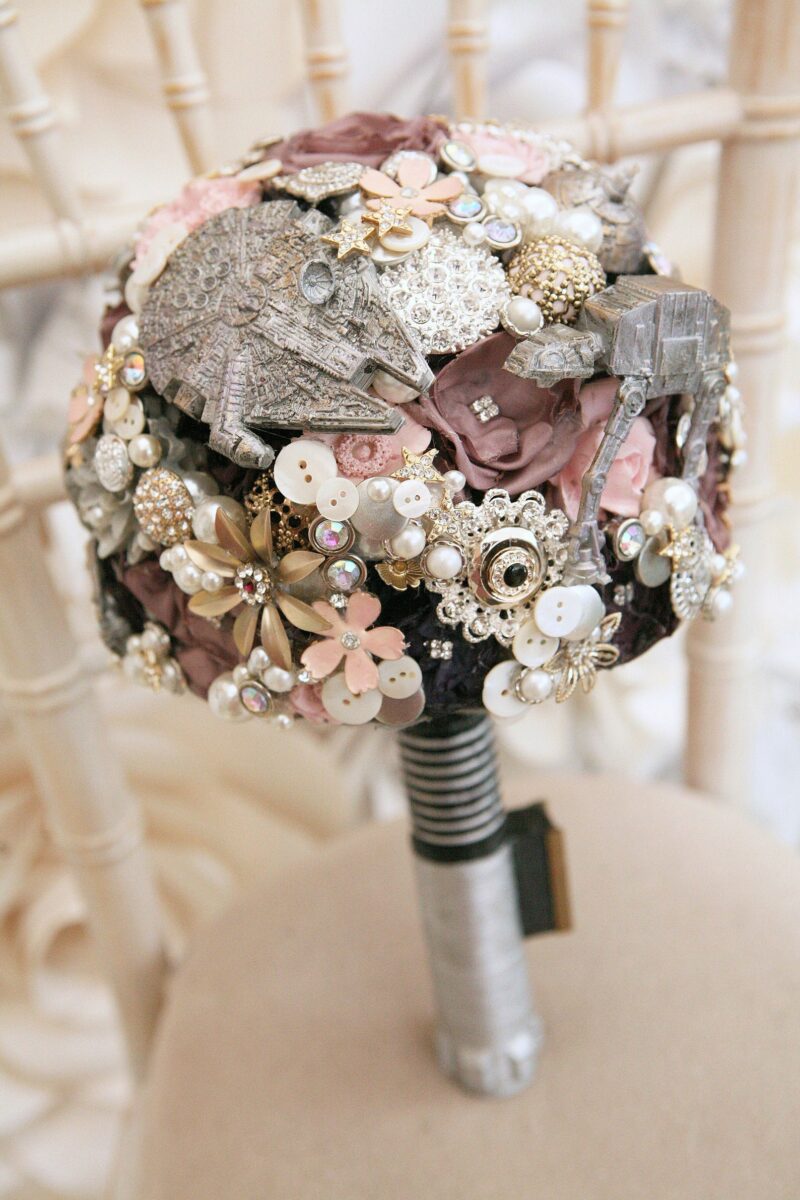
And here’s a sneak peak of a certain bouquet so far…







6 responses to “How to make semi-kanzashi style fabric flowers (part 2)”
These are really delightful and the tutorial is really well made.
I’ve been thinking about having a throwing bouquet and don’t like the look of silk flowers. This is the 1st fabric flower I’ve really liked the look of.
omgoodness you’re my heroine! I am doing lots of different kinds of DIY flowers and this is awesome. thank you!
OK, so I may have a problem. After trying both flower-making techniques, I seriously spent ALL DAY TODAY making flowers upon flowers upon flowers! Now I have plenty for the wedding party & VIPs, as well as some fun non-wedding ones made from fun leftover fabric (um, hello last-min xmas gifts). FH came home, caught me surrounded by flowers, and told me I should seek help.
I’ll try to post a pic on Tribe soon [I’m dm(dooley)]. Thanks again for the inspiration and awesome tutorial! Looking forward to part three 😀
Wow, thanks a lot for the tutorial. I have tried following it and although my flowers have not been as beautiful as yours so far, I love the technique! It comes at the very right time, right after vthe Christmas, we are throwing a huge birthday party for a friend and this will make the decorations so special! thanks again
Thanks for your tutorial! I have successfully made petals, but I am not successful at sewing them together into a discernible flower. Do you have any tips for that part? Thanks!
i take it part 3 was never posted? i searched google and offbeatbride but could only find part 1 & 2 🙁