



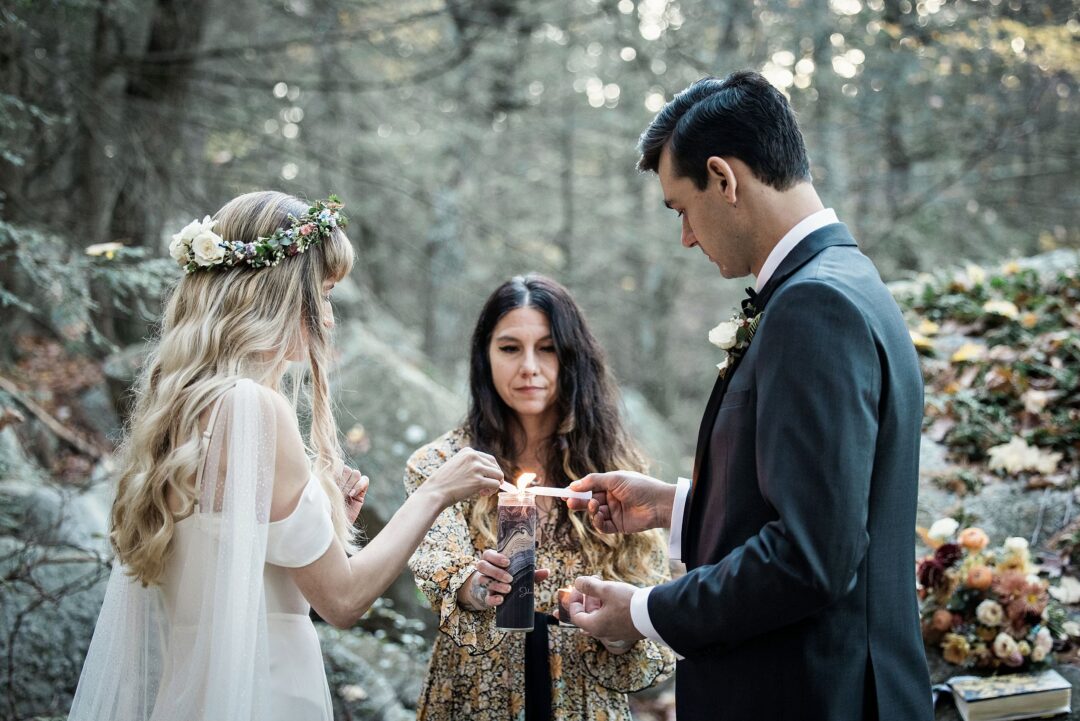
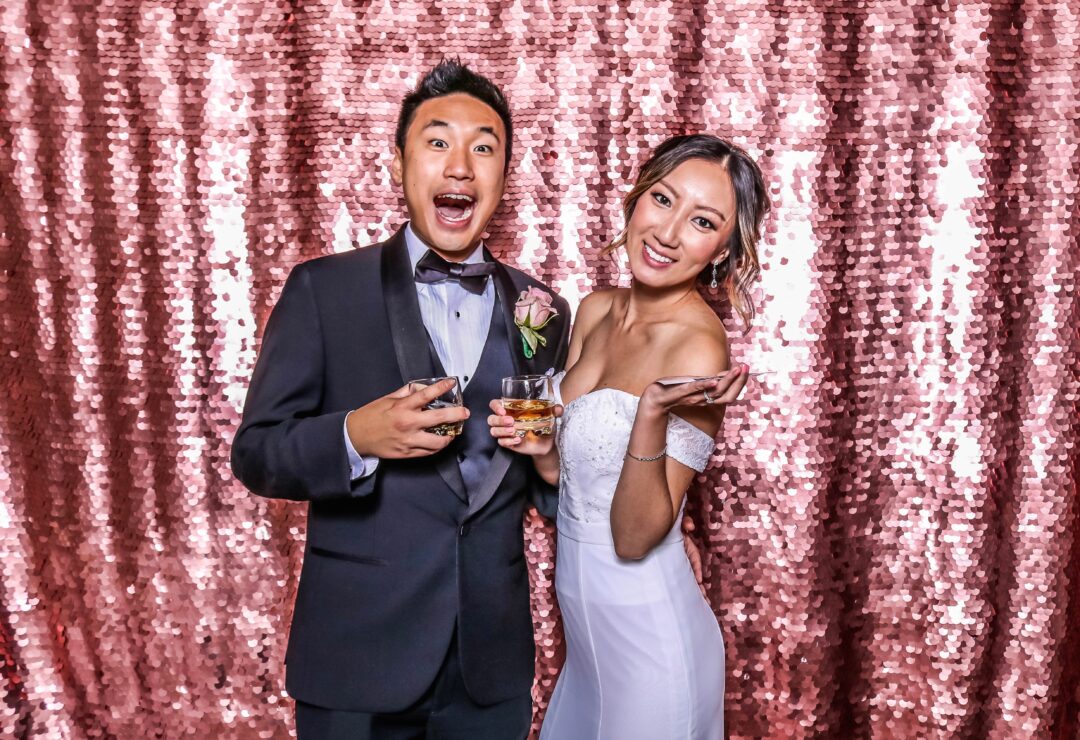
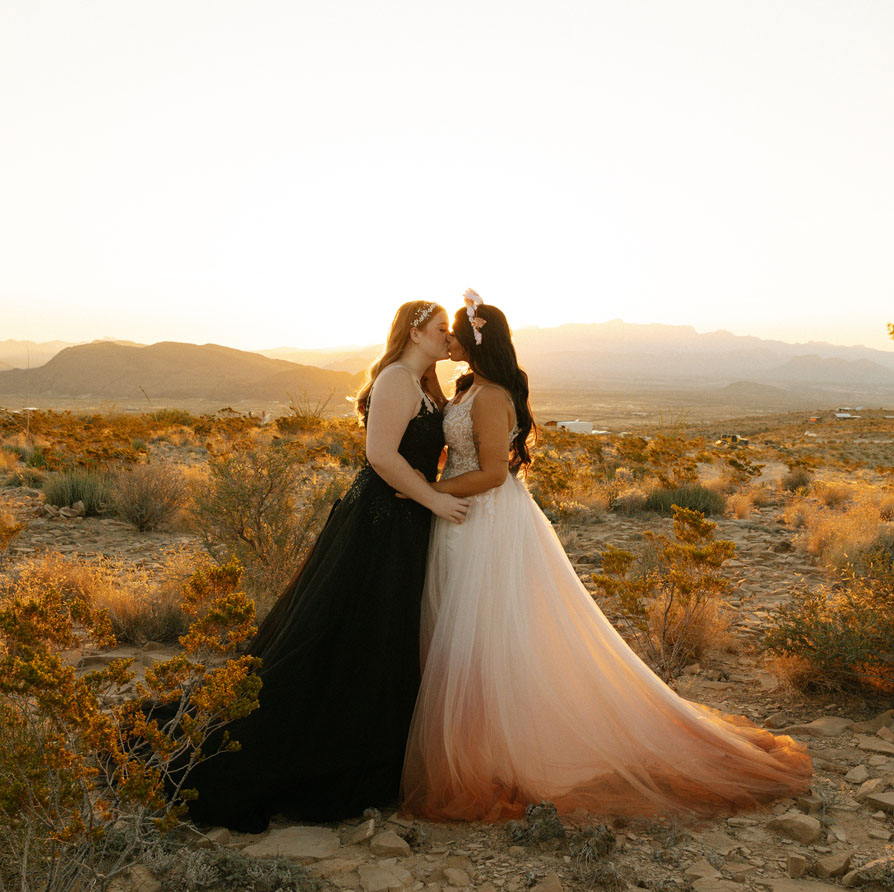
We’ve been throwing around the idea of this wedding coloring sheet for years but never had a great tutorial for how to make one yourself, which you absolutely can do. Yep, you don’t have to outsource this project to someone else if you have access to a program like Photoshop, GIMP, or Pixlr. I’m going to be demonstrating it with Photoshop, but the steps are mostly translatable between each program. Here’s a specific tutorial for Pixlr and GIMP if you’re using one of those instead.
If you really aren’t into DIYing this, there are online tools that can help. Try out a site like Reallycolor.com who will transform the photos for you. But hey, why do that when you can give these DIY coloring pages a try yourself? Here’s how to do it…

Tips: a high-contrast, non-blurry photo works best. Also make sure your photo is high enough resolution to be printable, but it’s not super important since we’re doing so much editing to it.

Create a duplicate layer
Duplicate the first layer by right-clicking on the layer and choosing Duplicate Layer. Make sure the NEW layer is above the original in the layers panel. You can click and drag it above, if needed.
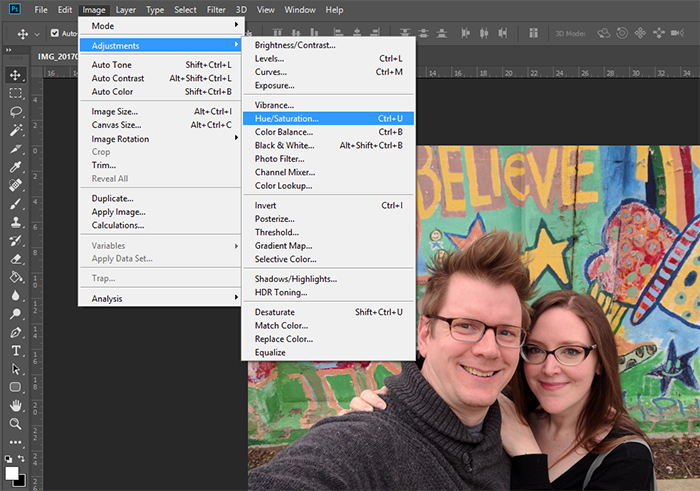
Desaturate the new layer
Make your new layer black and white by going to Image > Adjustments > Desaturate. Take Saturation all the way down to the left.
Duplicate the new layer again
Duplicate the new layer one more time by right-clicking on the layer and choosing Duplicate Layer.
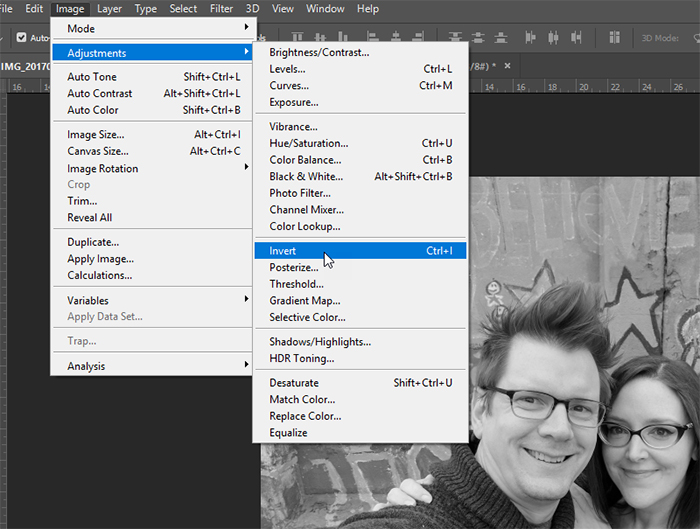
Invert the newest layer
While on your newest desaturated layer, go to Image > Adjustments > Invert. This will invert the colors. It will look a little weird for now. Or really kick-ass?

Color Dodge the new layer
On your inverted layer, look for a drop-down menu in the Layers panel. See the screenshot for placement. Then choose Color Dodge instead of Normal. This will probably make your photo look almost all white. This is okay! If it’s not, you may have forgotten the second layer duplication. Go back a few steps to see.

Blur the layer
While on your newest layer go to Filter > Blur > Gaussian Blur and adjust the slider bar until your photo starts to resemble a coloring page. This could be either to the right or left depending on your photo. It will probably resemble this somewhat…


Flatten the image
Go to Layer > Flatten Image to combine all of the layers into one.
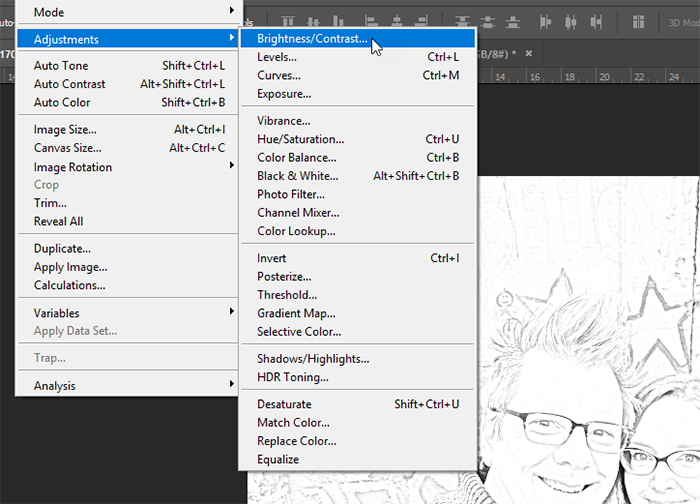
Adjust the contrast
Go to Image > Adjustments > Brightness/Contrast and mess with the contrast slider until your lines are darker. Then you can save and print!
Depending on your photo, this may not give you the result you want. Mine, for instance, wouldn’t go dark enough. If this is the case, go to the next optional step…

Optional: mess with the Shadows
Under Adjustments > Shadows/Highlights, adjust the Shadows until the lines darken to your liking. This will make it easier to color in.
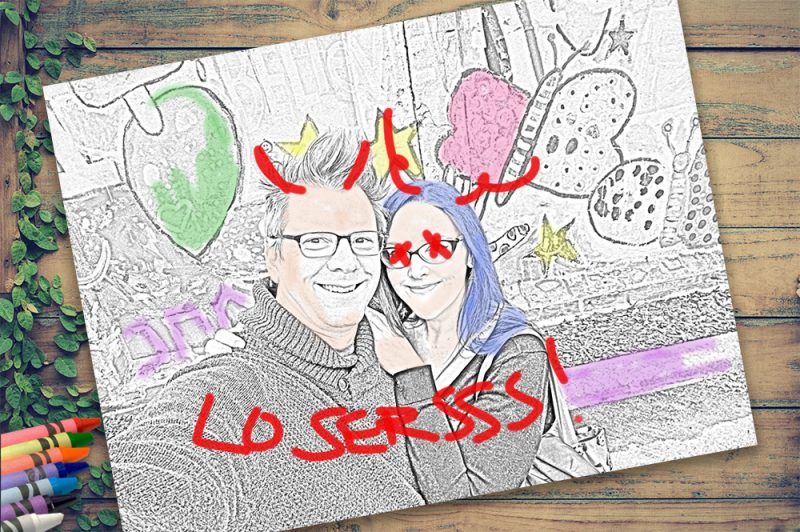
The finished result, ready for saving and printing…

More reception activity ideas:
Related Reading
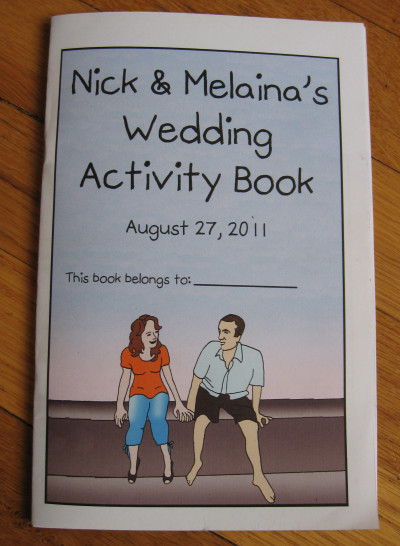
Check out the DIY activity book I made for the kids at my wedding
My future husband and I decided to invite all of the kids in our family to our wedding to help meet our caterer’s 150 guest minimum. We got kind of excited about it since we’re both big kids ourselves, and… Read more
Related Reading
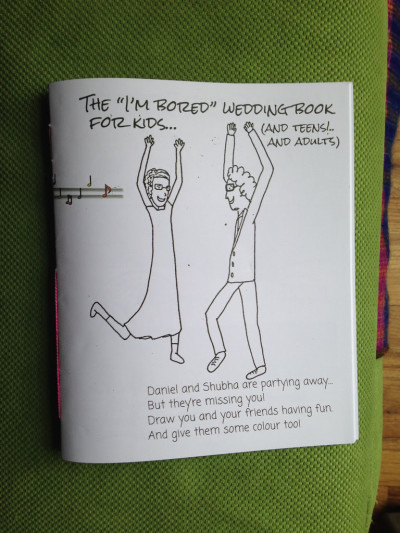
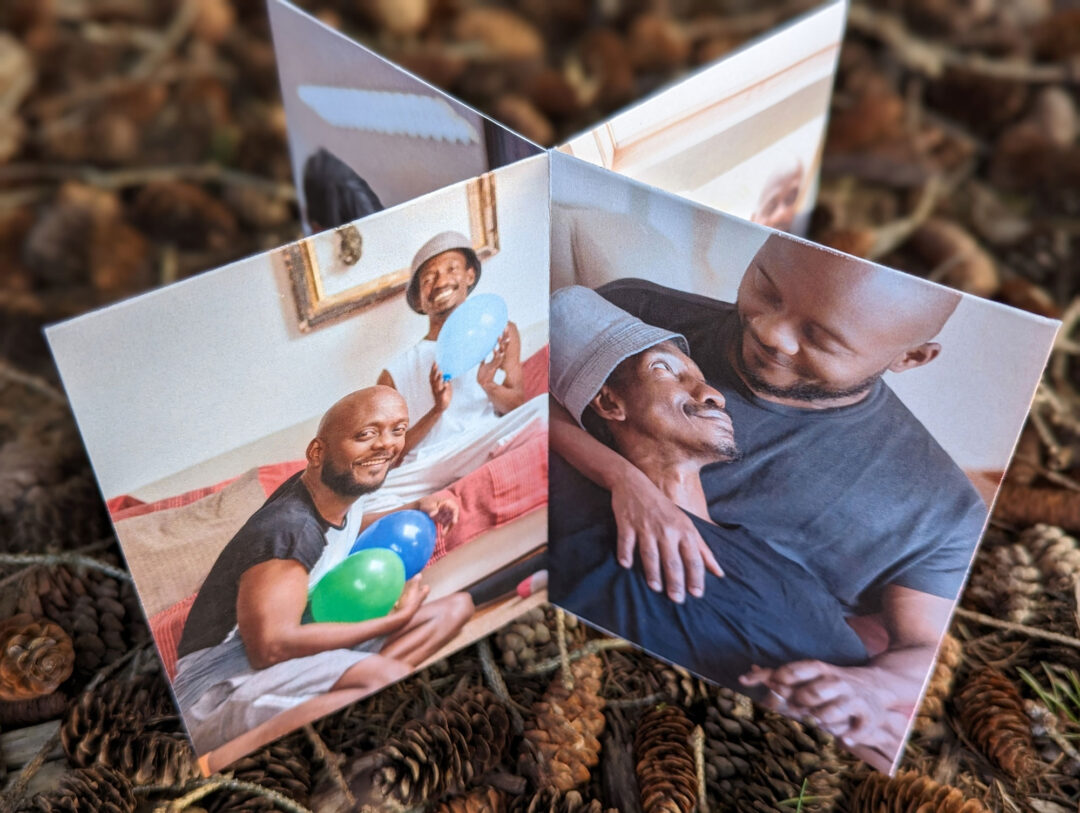
The “I’m bored at a wedding” inclusive, LGBT, multi-ethnic children’s activity book
Thanks to Offbeat Bride and Etsy I fell in love with the idea of custom activity books for them. But, checking out the other books, I immediately thought, how can I make these books even more inclusive? Basically, I needed… Read more



3 responses to “How to DIY coloring pages from a photo for your wedding reception”
Pixeluvo, which is available for Linux and Windows, is a better Photoshop alternative than Gimp. It isn”t free, but the cost is low and it doesn”t have Gimp”s appallingly clunky, illogical way of working. It also has a sane interface, unlike Gimp. I”ve used Gimp a lot and while it has some good points it is not a Photoshop alternative. There is a fairly straightforward way to use Photoshop on Linux using PlayOnLinux. I used it and Photoshop worked fine, though not as well as on Windows. If you”re serious about photo editing there really is no Linux alternative to Photoshop and dual boot is the best option. I”ve used Linux and Photoshop on Windows since 2001, so my comment is based on practical experience. I”d drop Windows immediately if there really was a genuine alternative to Photoshop for Linux, either free or paid for. But there isn”t.
What a great idea! I just try this afternoon, though it isn’t for wedding but i really like my result.
This is a fun little wedding idea and definitely an interesting one at that. This is just a cool way of making fun and creating your coloring book, just kidding. But yeah many couples are searching for wedding ideas, in the months leading up to their wedding. So this is one great way for this wedding idea.