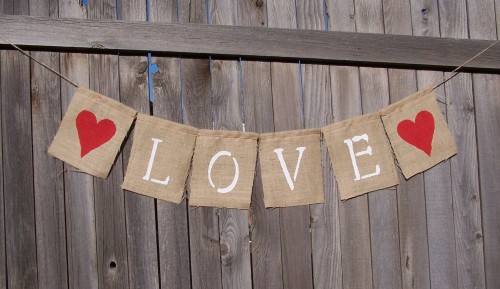
Here's how to make these rustic burlap banners very easily and inexpensively.

After seeing these burlap bunting/banners around, I decided I could make them myself.
So I purchased two yards of 40″ wide burlap from Hobby Lobby at $4.99 per yard. I had a 50% off coupon so the burlap only cost me a little over five bucks. The burlap will already be folded in half from being rolled on the bolt. Leave it folded and lay it out on a large table or counter. Using chalk and a ruler, measure and mark your cut lines, 7″ wide and 10″ long. I got 40 individual flags out of the two yards of burlap.
Here's what you will need:
 Acrylic Paint. It is nice and thick and very easy to use. And you don't need that much, even these bottles I purchased are still about half full.
 Variety pack of sponge spouncers. The middle size (purple one) worked the best for the letters. The larger yellow ones worked great for the heart stencils.
 How to DIY a felt bunting wedding banner
Bunting banners are a fabulous way to make your special day all yours. DIYing and making can help you save money, explore your own creativity... Read more
 Plastic drinking cups for the paint. I cut them in half and put a good amount of paint in the bottom. Makes for easy clean-up, too!
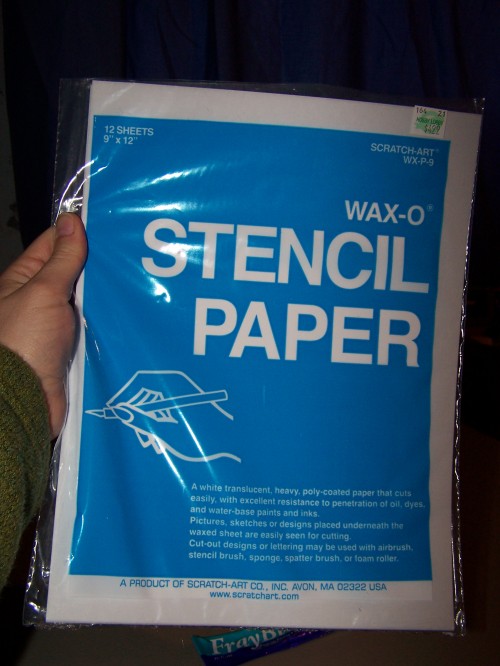
 Stencil sheets. I used these to cut out stencils for the heart and the plus sign.
 5″ letter stencils. These were the perfect size!
 I use Fray Block for sewing so I figured I could use this on the burlap as well so it doesn't fray so much like burlap tends to do.
 Jute twine. I used this to string and hang the flags.
Here's how to make them:
Cut out the burlap squares. I went around the edge (about a 1/2″ in) with Fray Block prior to sewing the top.
 Fold over the tops of the “flags” an inch and then sew across the top with a sewing machine or by hand.
 Make sure to back stitch a little on the ends so it doesn't unravel.
 The letter stencils I purchased came four letters to a strip so I cut them so each letter would be individual. For the symbols, I simply printed out a heart shape and a plus sign in Word and then sized it 400pt. I traced the shapes onto the stencil sheets and then cut them out.
 Lay flag to be stenciled on top of a piece of cardboard to ensure table or counter does not get ruined. Have plenty of paper towels on hand to wipe up excess paint off of cardboard and off of the stencil prior to stenciling the next flag otherwise you will have an unwanted mess/letter on your next flag. Center desired letter in the middle of burlap flag. Use a spouncer and paint to stencil the letter onto the burlap. Lay the paint down very thick.
 Lay stenciled flags onto an old bed sheet or plastic sheeting to dry.
 When all flags are completely dried you can begin to assemble the banner. Here I have a wire (an old wire hanger) that is simply twisted on one end. The eye should be large enough to thread the jute twine through.
 Start threading the flags. Make sure they are in the correct order that you want them to be in! Make sure to leave enough twine on the ends to hang the banners. I made the length three times as long as the letters put together.
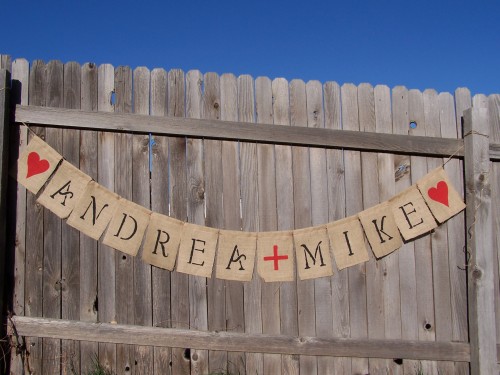
The finished products!


These look really nice! You could probably sell them on etsy 🙂
What did you use to cut the burlap?
I absolutely love this and may have to make some for my wedding!! Thanks for the idea and the great instructions!!
Looks like I found my weekend project! Seeing how we are running away to get married next week. this is just the perfect little easy to hide way to say look, we did it!
This is such an incredibly adorable idea! I will have to use this in the future!
I love this sweet rustic touch! I think I’m going to have to do it!
I just finished these for my son’s wedding. I used a hot glue gun instead of sewing. Worked great!!
I’m glad hot glue works. I couldn’t sew if my life depended on it, thanks!
I started this project tonight and it looks adorable! I chose orange floss instead of sewing it and I stitched it around all four sides before painting turquoise letters on them. I can’t wait to finish this!
where u get those stencils?
Hey, what font were the letters?
Please can u tell me where I will get this pant Thanks